MST RMX 2.0 RTR Learning to Drift Series - Part 4
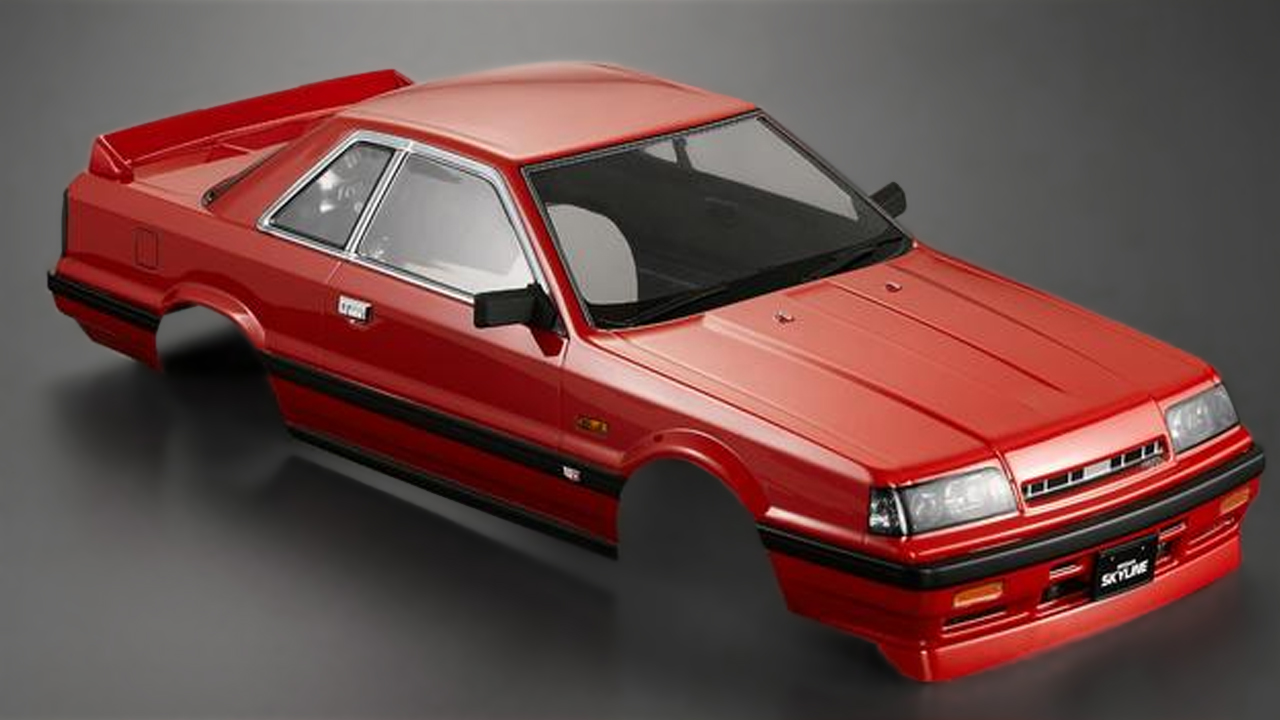
We’re back with part four of our Learning to Drift Series. And it's all about creating a custom look and style for our MST RMX 2.0 RC drift car. We bought a brand-new Killerbody Nissan Skyline body, grabbed a bag full of accessories—then it was time to start building!
Welcome to part four…
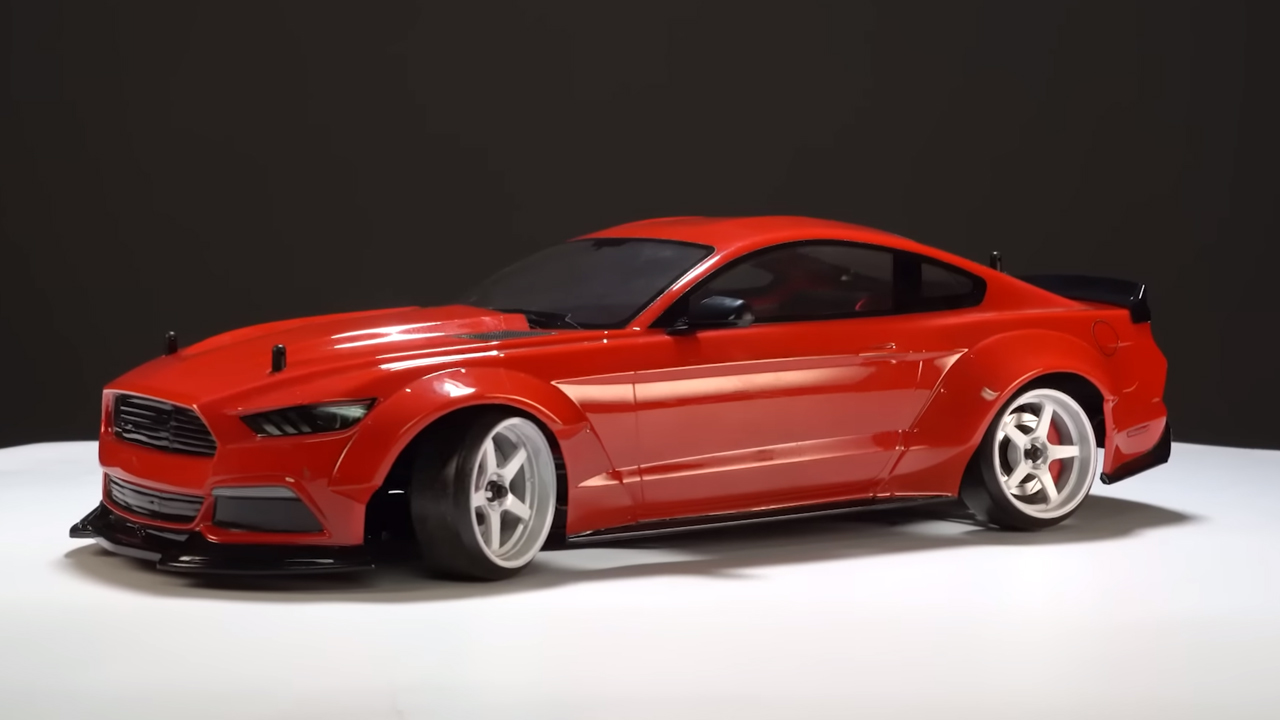
The MST RMX 2.0 comes this way out of the box. However, we swapped the stock wheels and tires in the previous build to run on our carpet track. The stock body looks pretty darn good, but we wanted to add some scale upgrades.
So, this isn’t an accurate build per se—more like a fantasy car. To save time, we used the pre-painted and pre-assembled Nissan Skyline R31 from Killerbody. First, we added the side mirrors since they didn’t come pre-installed.
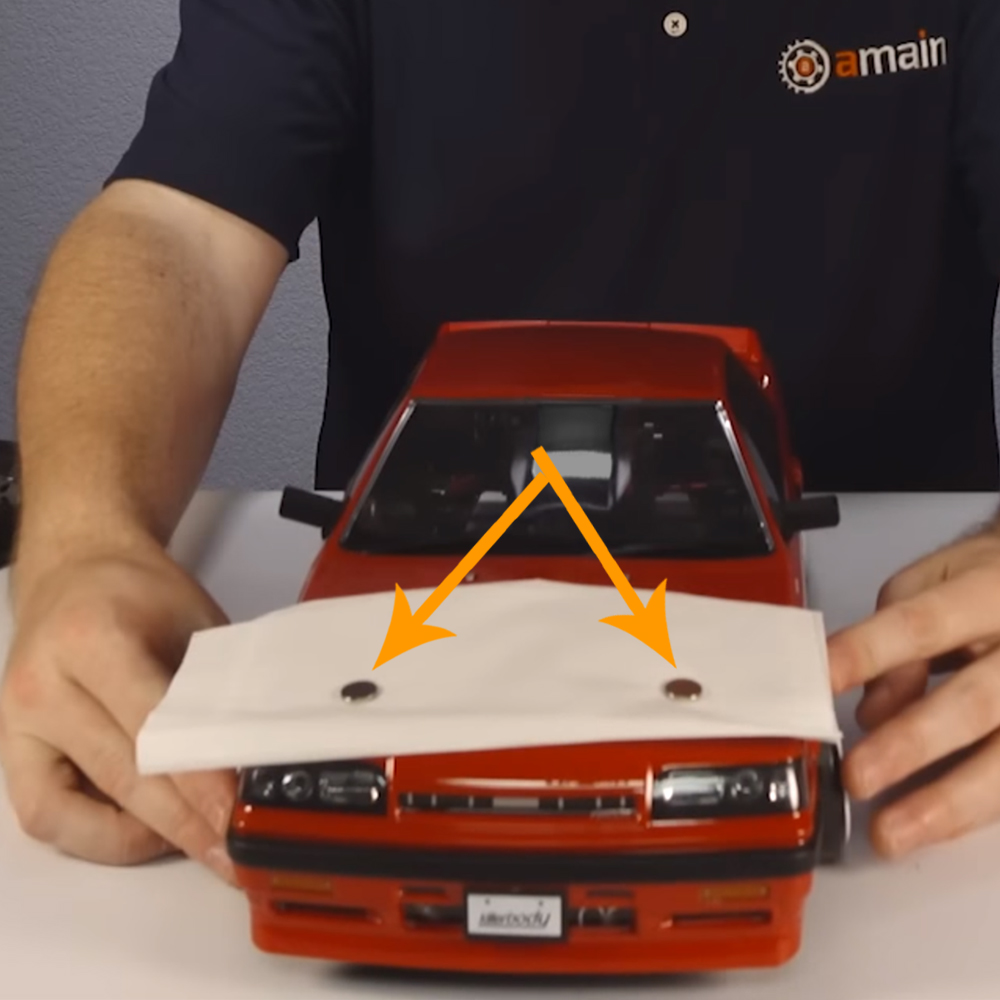
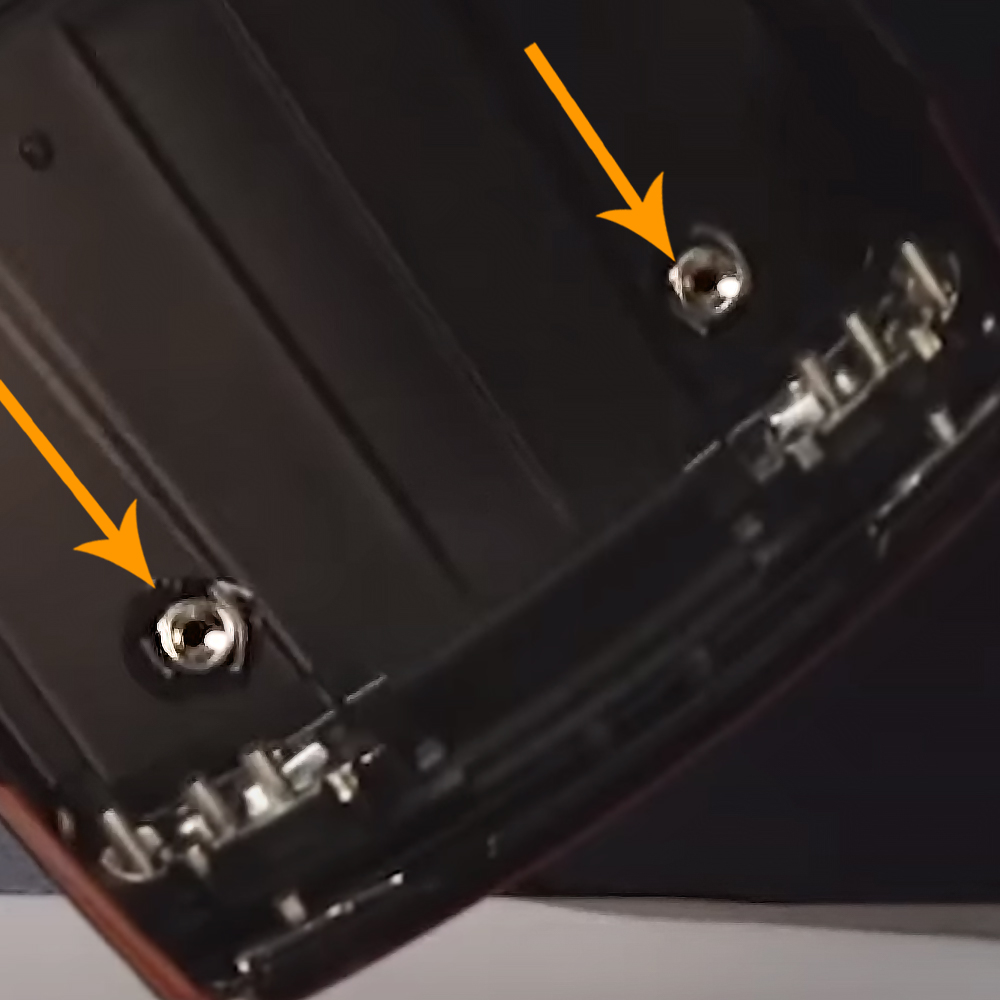
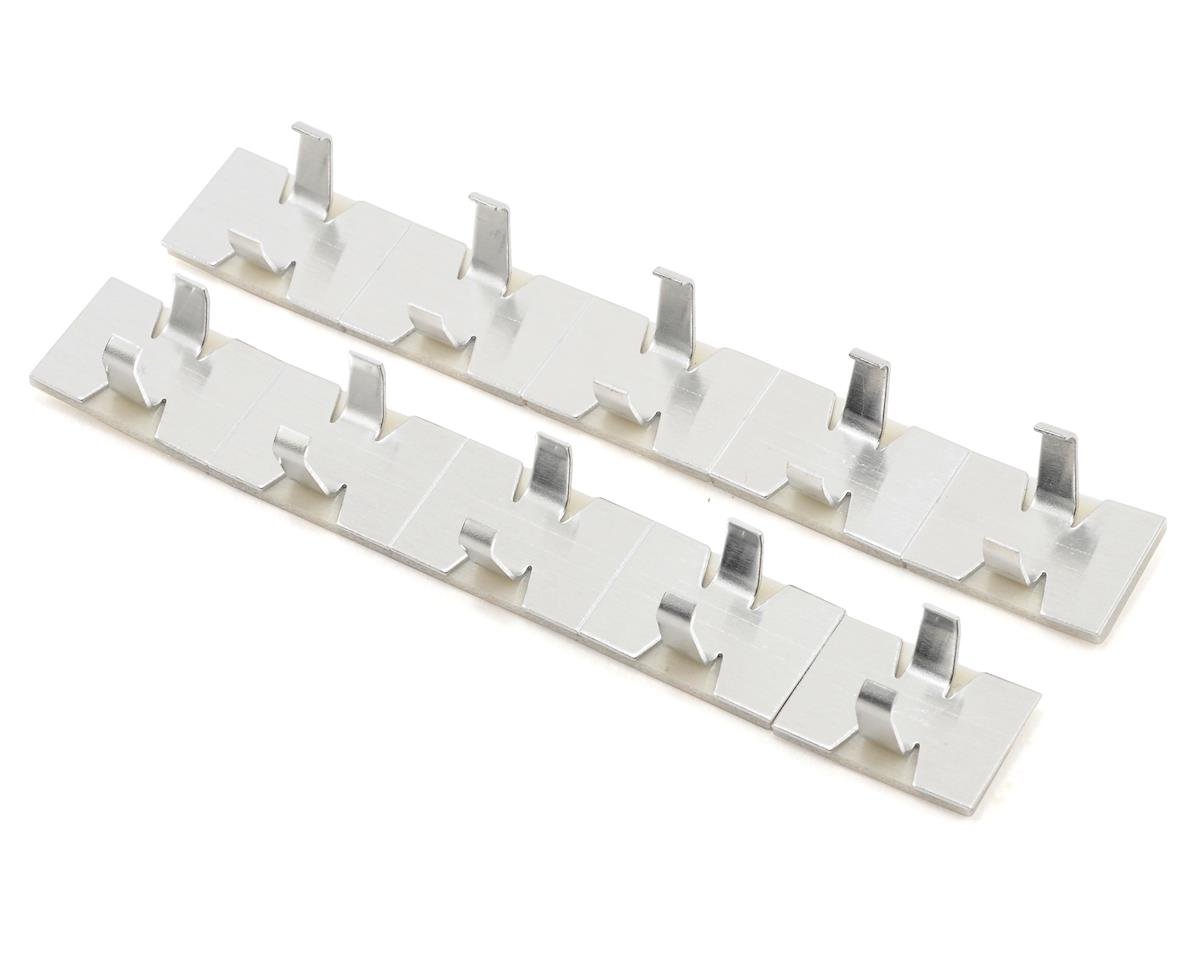
Then, we added the Scale Reflex magnetic Gorilla mounts with a little trial and error. These mounts are added to the front and back body posts and set with magnets adhered to the body. We struggled a bit, but ultimately it was as simple as adding the metal dome piece to the post cap on the front. The post cap is a smaller diameter and fits the Gorilla mount nicely. We then removed the original back posts and slipped the new aluminum rear mounts in their place.
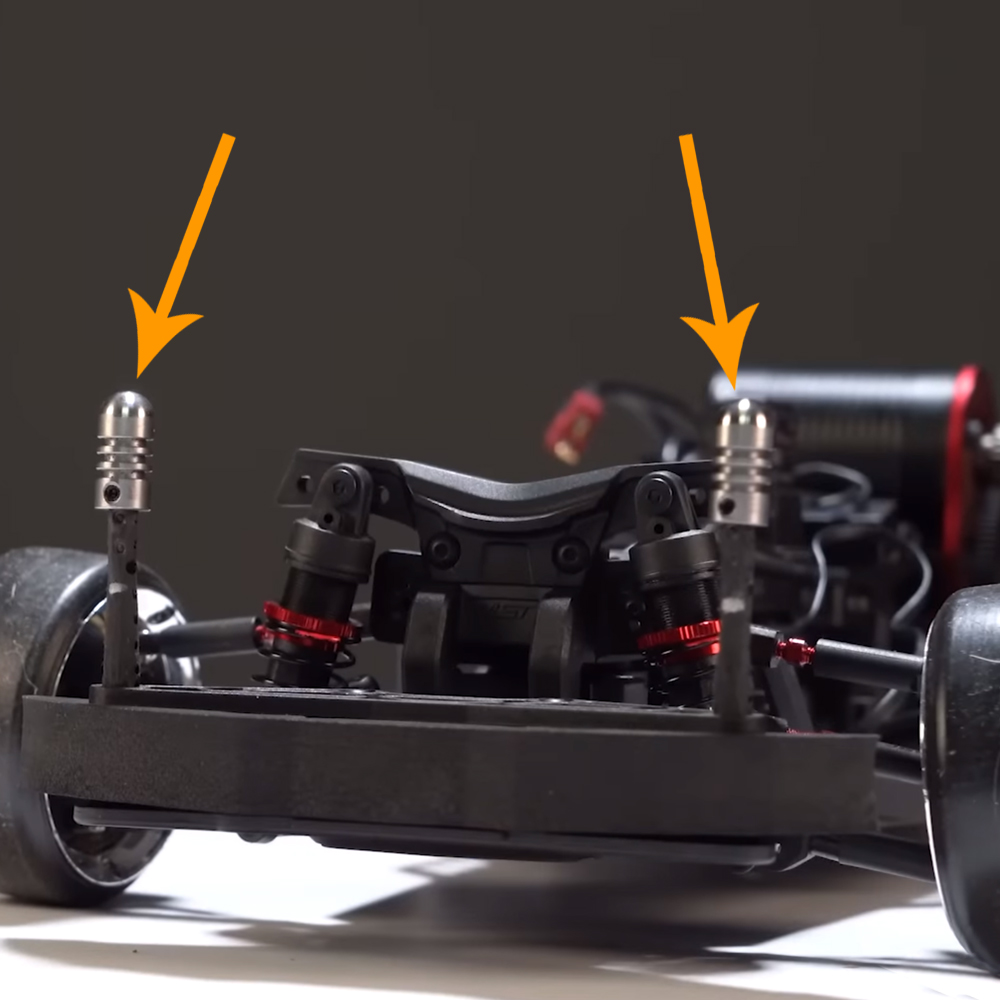

Note: You may have to shave your front posts down if they are larger than the magnetic mounts.
Time for a rough fit. We placed the body on the chassis without the magnets and noticed the front was a little too low, so we were going to raise the front cones. However, that rough fitting was not accurate until the magnets were added to the underside of the body. We also added the battery to get a precise ride height.
Because the body was pre-painted, we used the rear magnets on the hood of the body to help make front adjustments. Then we slid the body left and right until we found the center point. With the front position where we wanted it, we used a Sharpie to outline the magnet position and locked in the magnets using double-sided ProTek clear tape. It can be pretty tricky getting the backing off the tape, so we used an Exacto knife to get under it and peel it up. For the back, we aligned the body the same way. Only we had to use some spare magnets we had lying around. We marked the underside of the body and added the magnets to the vehicle’s rear.
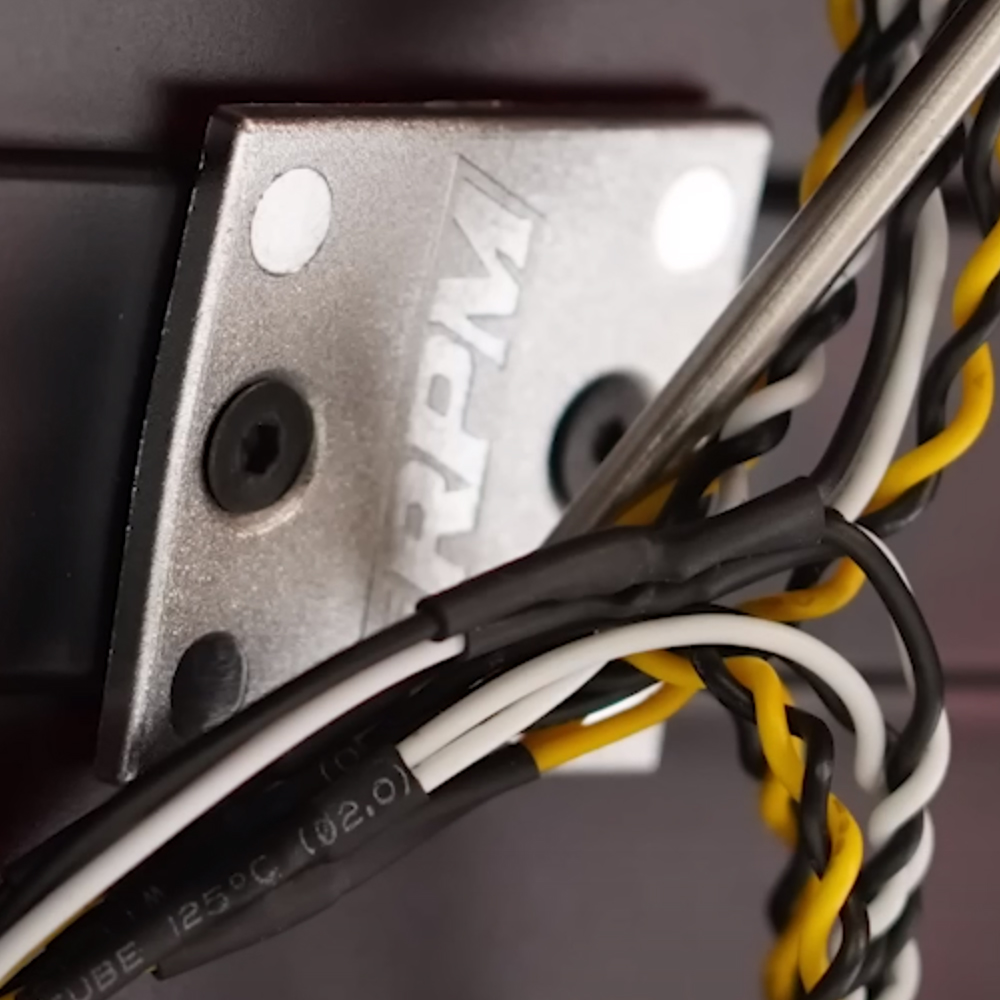
Next, we installed the Attack Vintage 1402 light kit from MyTrickRC. We entered the controller model number on the MyTrickRC website to get the installation instructions. An important note about this light kit is that it’s for bodies that use five-millimeter LEDs. But this Nissan Skyline uses three-millimeter LEDs. Killerbody sells light sets for all of their bodies, including this one, but it was out of stock. So, to make the LED kit work, we only used the light controller and purchased the MyTrickRC 3mm strings separately. In the end, we made it work, but we spent way more money than needed. To button up the wires, we used these Schumacher stick cable clips.
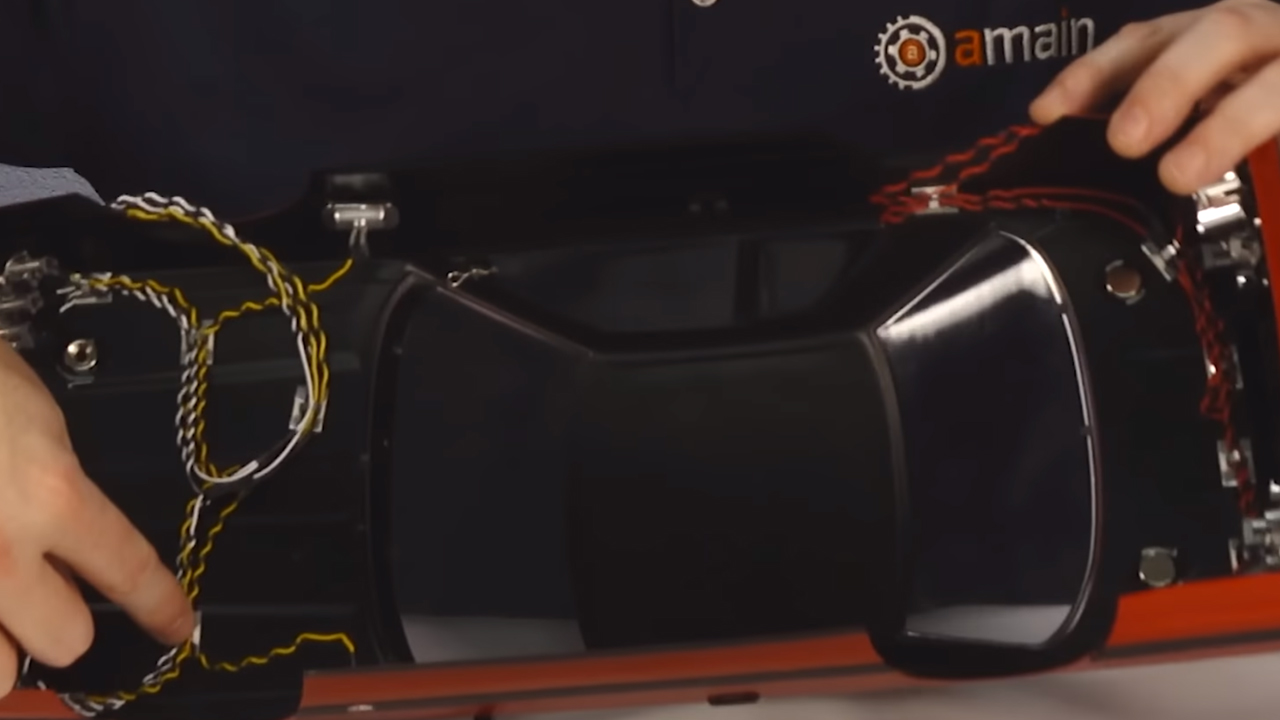
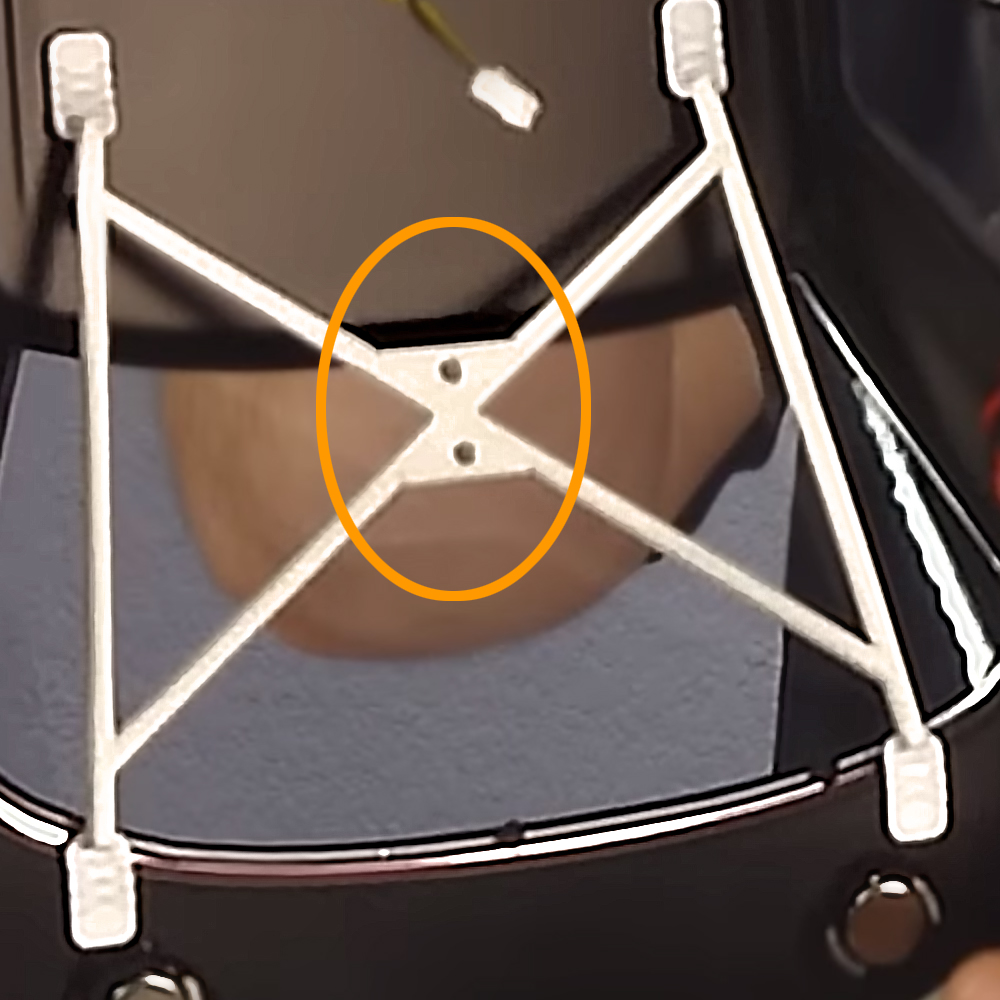
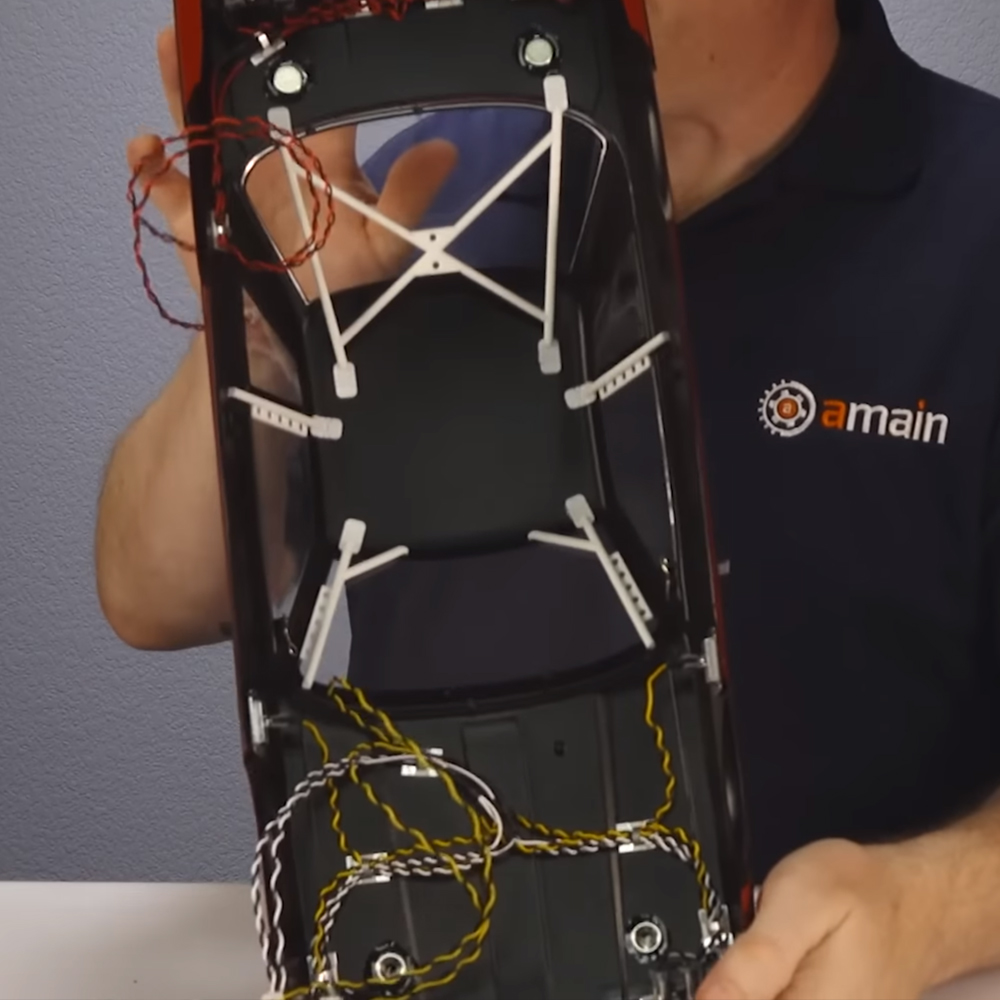
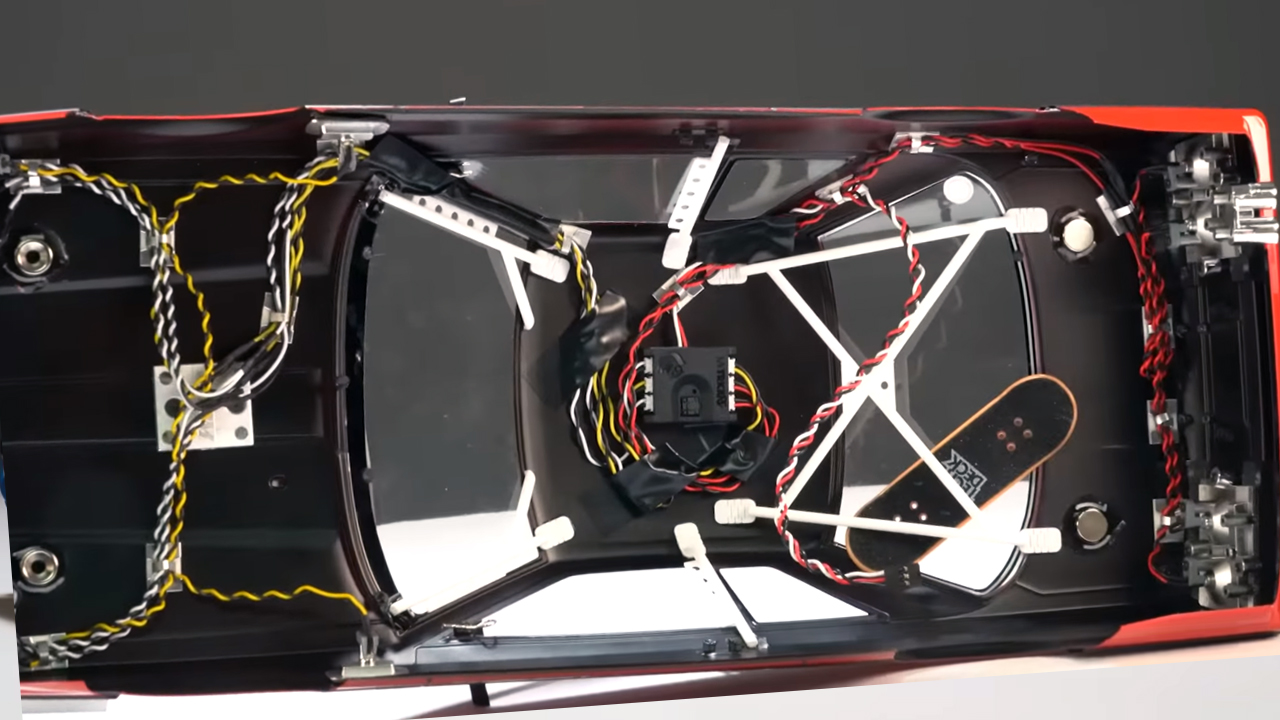
Before adding the LED controller to the body’s roof, we installed this roll cage from Fuse RC. Once we super-glued these small triangular pieces, the large section goes in the back window. The “Y” shape pieces go in the front, and two more are attached to the side columns next to the back window. We added some of the ProTek double-sided tape to the bottom of each piece to ensure they stay put. This roll bar can be painted, but we left it white. A bash bar is also included in the package, but we did not use it here. We were able to mount the roll bar just above the magnets but low enough to not show out of the window frame, and wow, doesn’t it look cool?
There was plenty of room up top to install the LED controller. First, we ran the rear LED and receiver wire on the rear window channel and the front cables up the front window channel. Then we covered them with super sticky, black 3M electrical tape to help blend them in with the black underside of the body and keep them out of sight. Finally, we used a bit more electrical tape near the controller to conceal them even further. A lot of time can be spent in wire management to keep things clean. It’s up to you how far you want to take it. But the main point is the magnets are free and clear for mounting the body.
Next up were the Yeah Racing drift wings. The package includes two carbon support pieces, these little aluminum L-shaped brackets, and two different size wings—that’s pretty damn sporty. Although we prefer to use the larger wing, the mounting points are spaced too far apart. So we went with the shorter wing. These spoilers are adjustable, so we can adjust the angle, which is nice. The screws go through the carbon fiber and then thread into the aluminum last. Finally, the wing supports are mounted to the body at an angle.
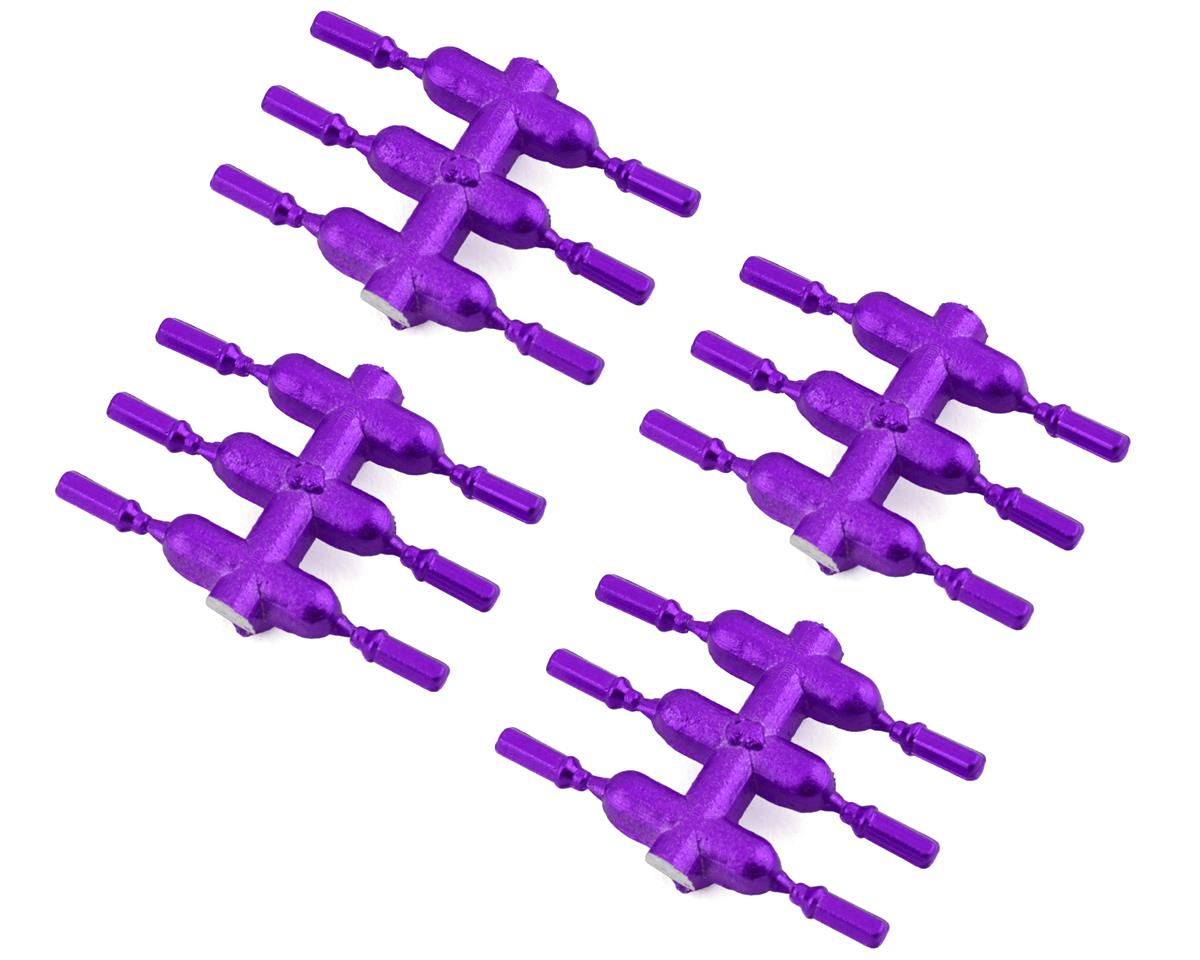
Up next, we added Kyosho 1mm, black trim tape to the gaps in the door, as well as the seams in the hood and trunk. When using trim tape, you will want to pull it tight as you lay it. With the body (mostly) done, we had one last thing to do to the MST RMX 2.0, and, that was to add some wheels and tires. These great-looking five-spoke wheels, tires, and purple lugs are from DS Racing.
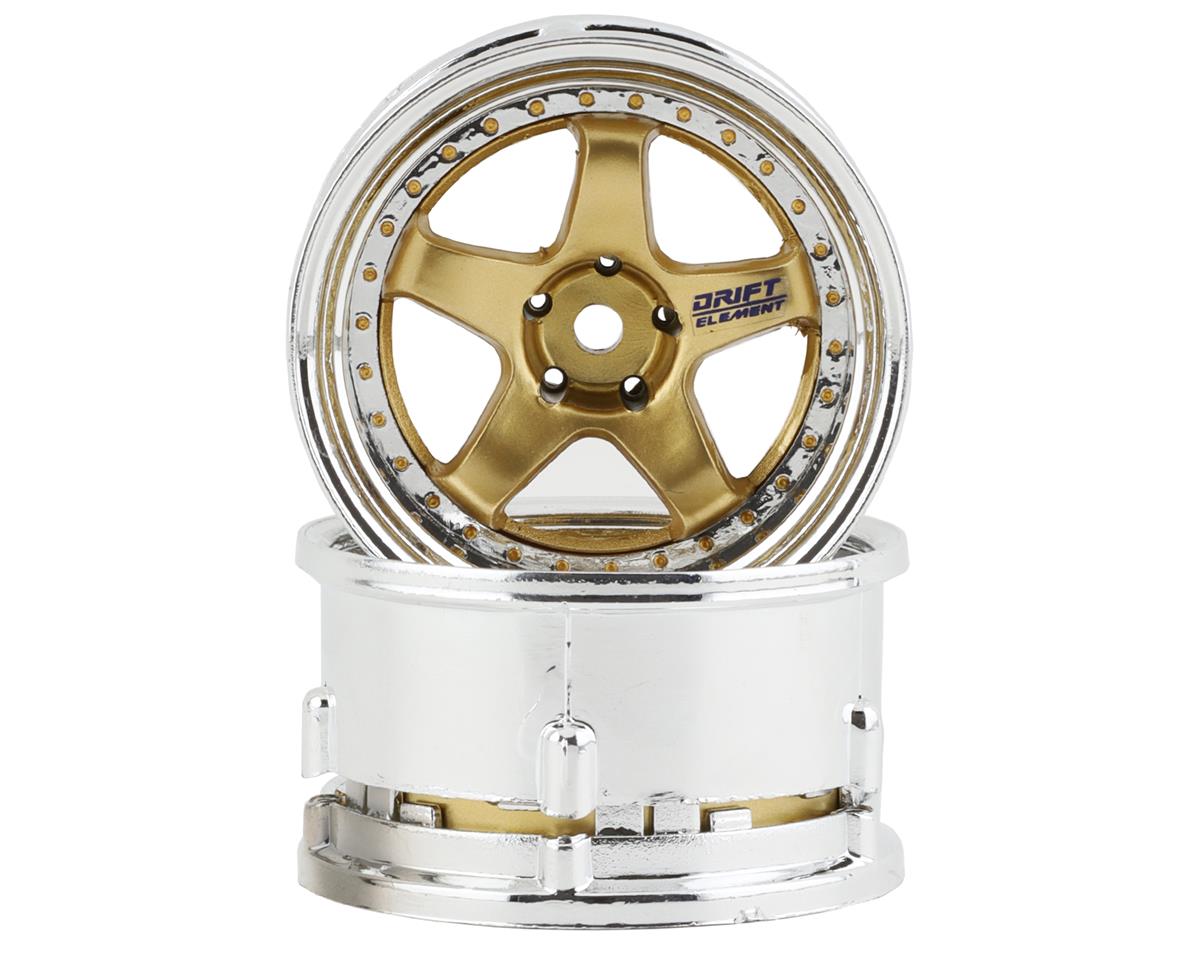

Note: DS Racing offers these in different colors and sizes, so they should look super cool on your drifter.
To adjust the offset, you take this front piece and align it with the depth notch you want for your offset. The instructions say what notch corresponds to a factory, tucked, or even stanced offset. For the back piece, simply align the notches on the back, which aligns the screw holes, add the screws to the back, and dang, that’s it.
So, these are the tires, and they’re the LF-4 four compound for polished concrete and carpet. DS Racing has a whole range of drift tires, depending on the traction surface. The instructions say, “to soften the tires for installation on the wheels, pour boiling water over them or use a heat gun”—we chose the heat gun. But be sure to add the foam to the wheels before softening the tires.
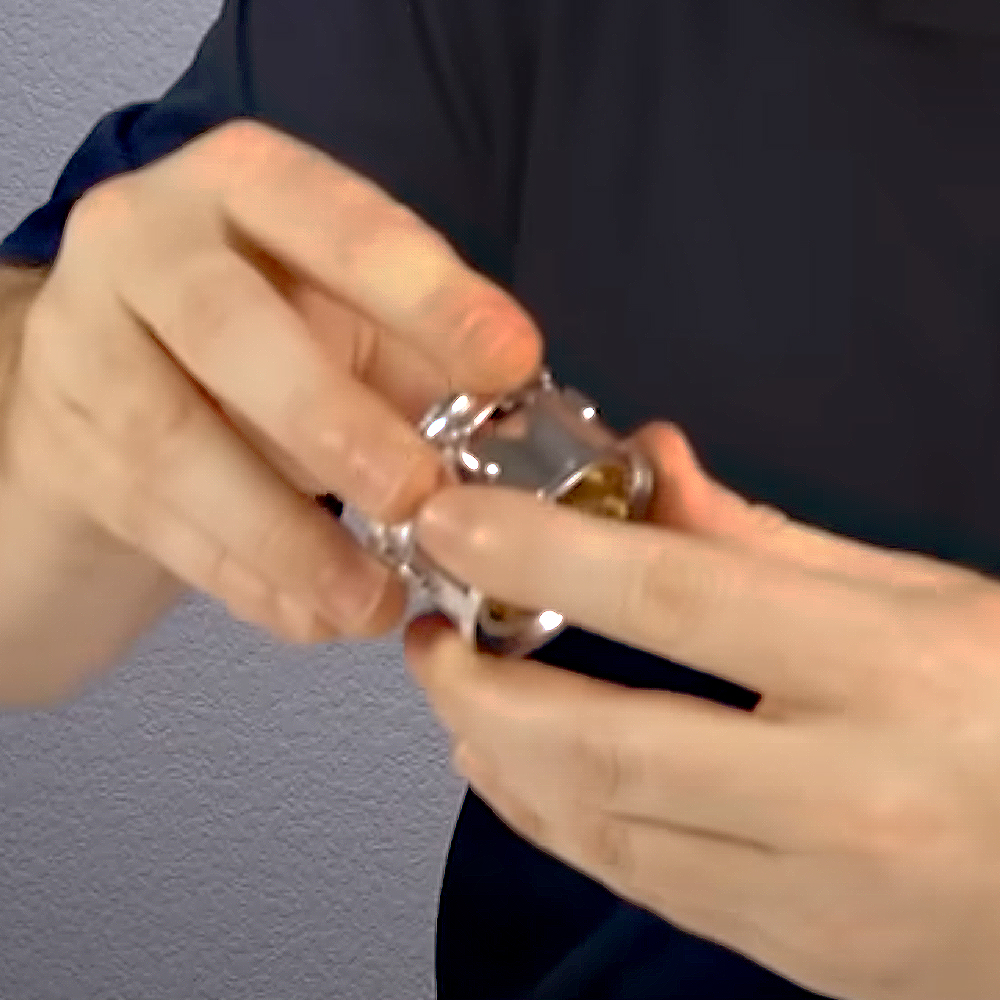
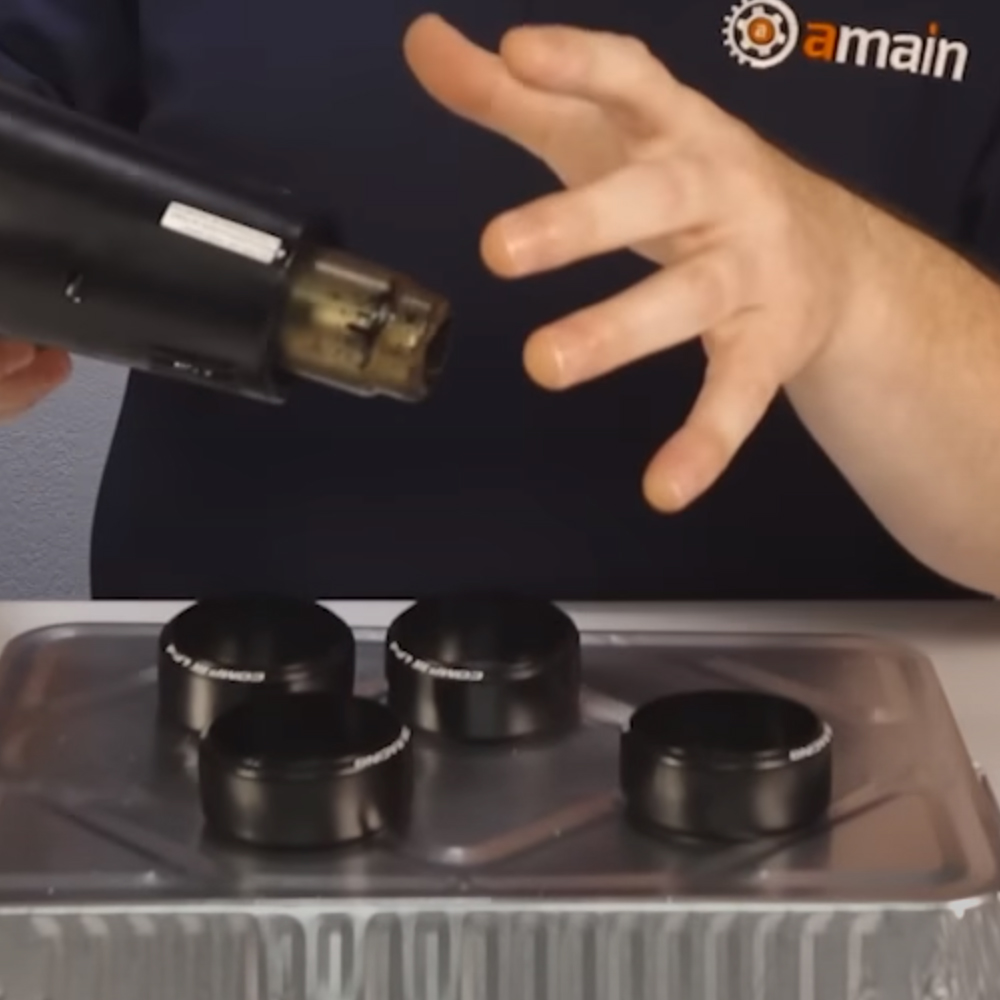
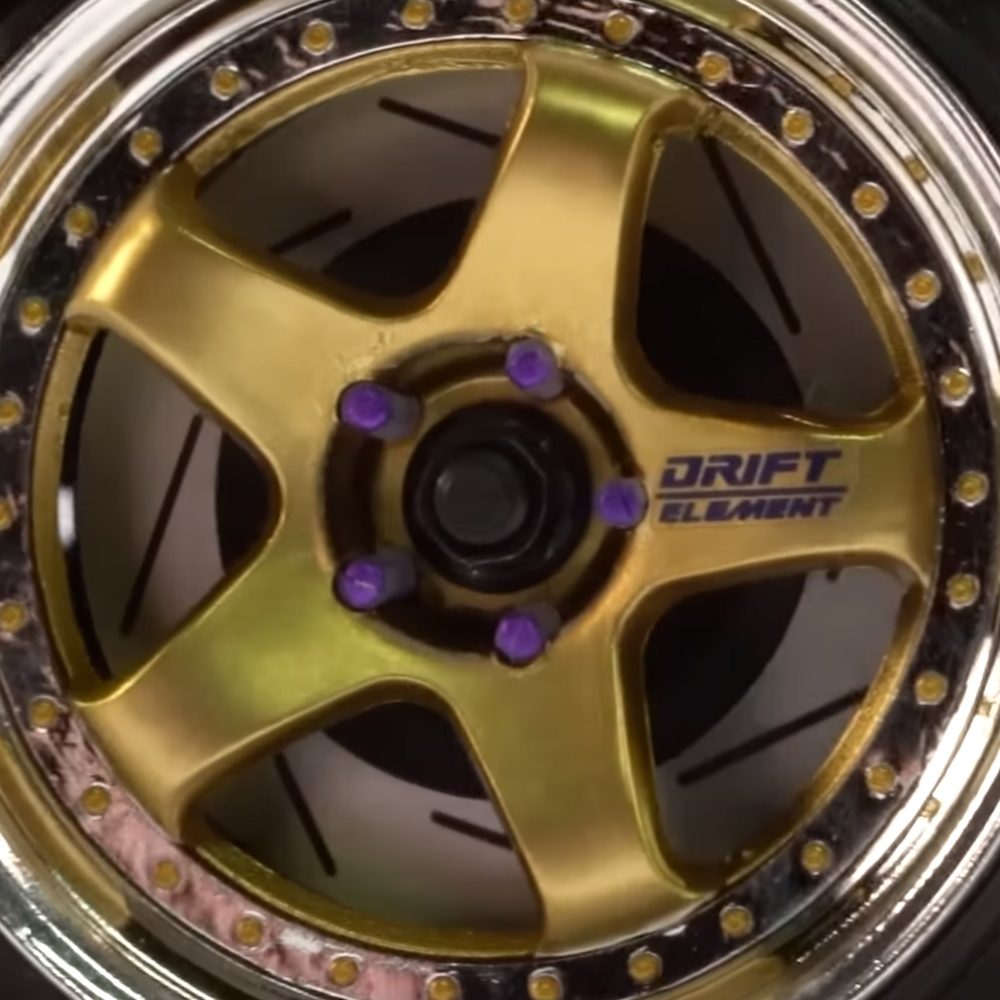
We placed the tires on a baking sheet, and even though we were a bit worried they would melt, we heated the tires for two minutes. Then, voila, those tires slid right on once heated up. (Caution, the pan, and tires were a little hot.) We chose the long purple lugs, and they look great. However, the long nuts allow us only to use a 5.5 mm axle nut. We set the lugs from the front with CA glue which slightly frosted them. It would have been better to fix them with glue from the holes in the back of the wheel.
More Fantasy RC Drift Car Features
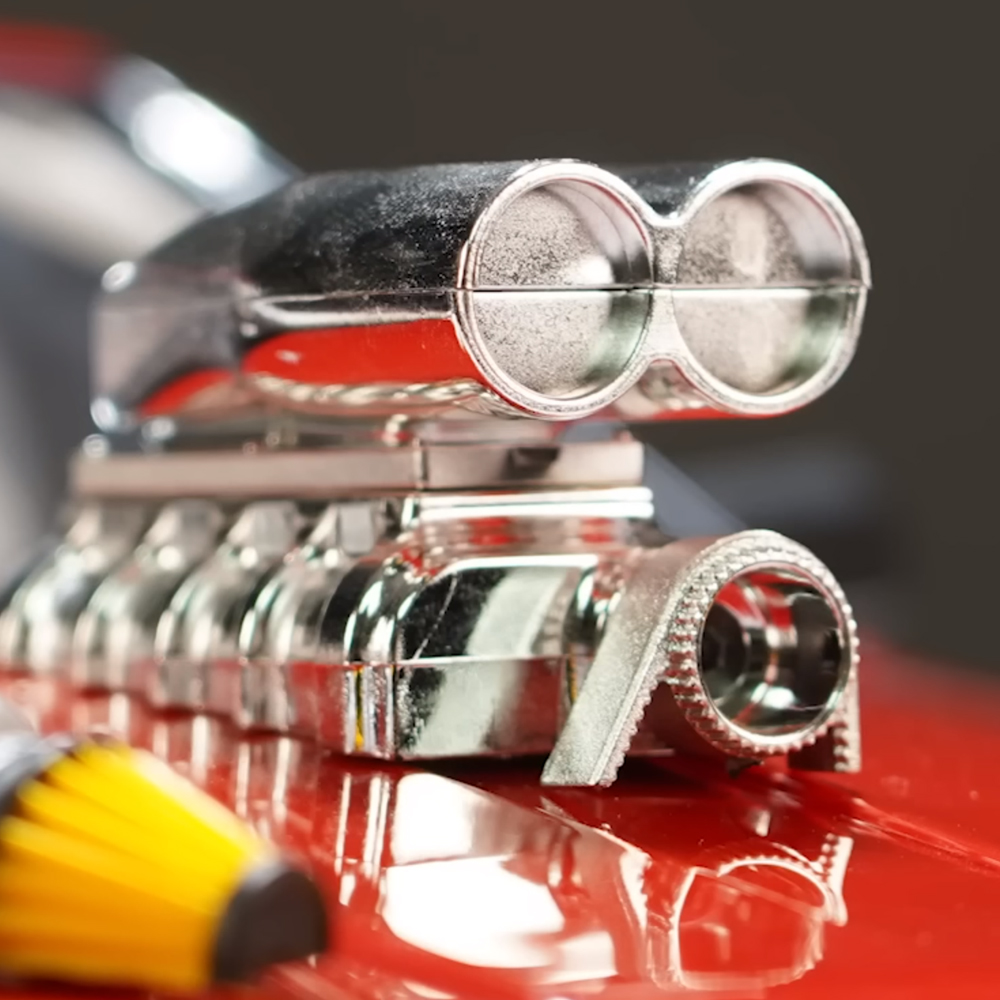
Front and center are the RPM chrome intake and blower set, attached with two screws. It comes with a template, so it’s easy to mount. Also on the hood are the Sideways RC half turbos, which we hot glued to the hood instead of using the tiny screw included in the package. Unfortunately, hot glue doesn’t flatten well, so there are some gaps—we recommend using super thin double-sided tape. There are a lot of intakes on the hood. We were going to run some tube from the back of one of the turbos to the blower. That would have been an excellent way to finish the look, but we ran out of time.
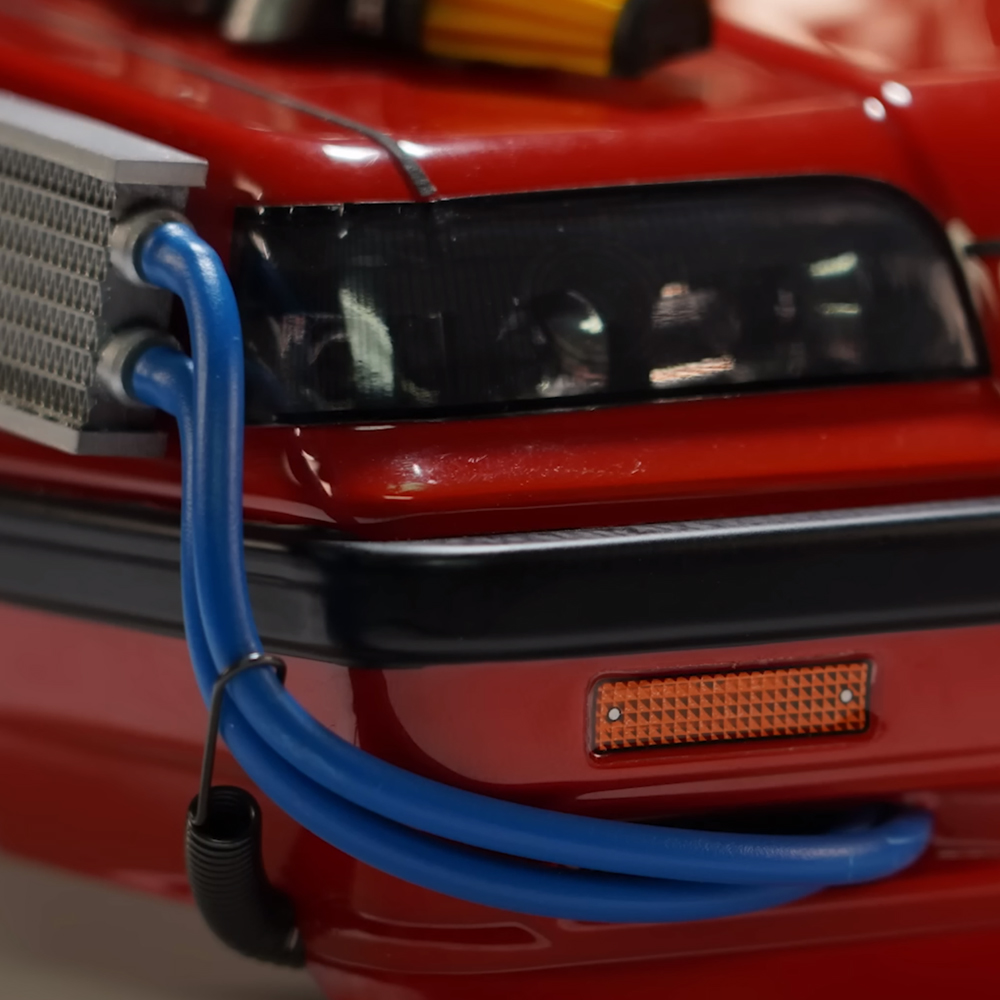
Here we added an Intercooler V3 from Sideways RC. We just fixed it to the body with double-sided tape and piped the tubes through a decal on the front bumper. We used an exhaust manifold spring from ProTek RC to hold the tubes down for a really cool look.

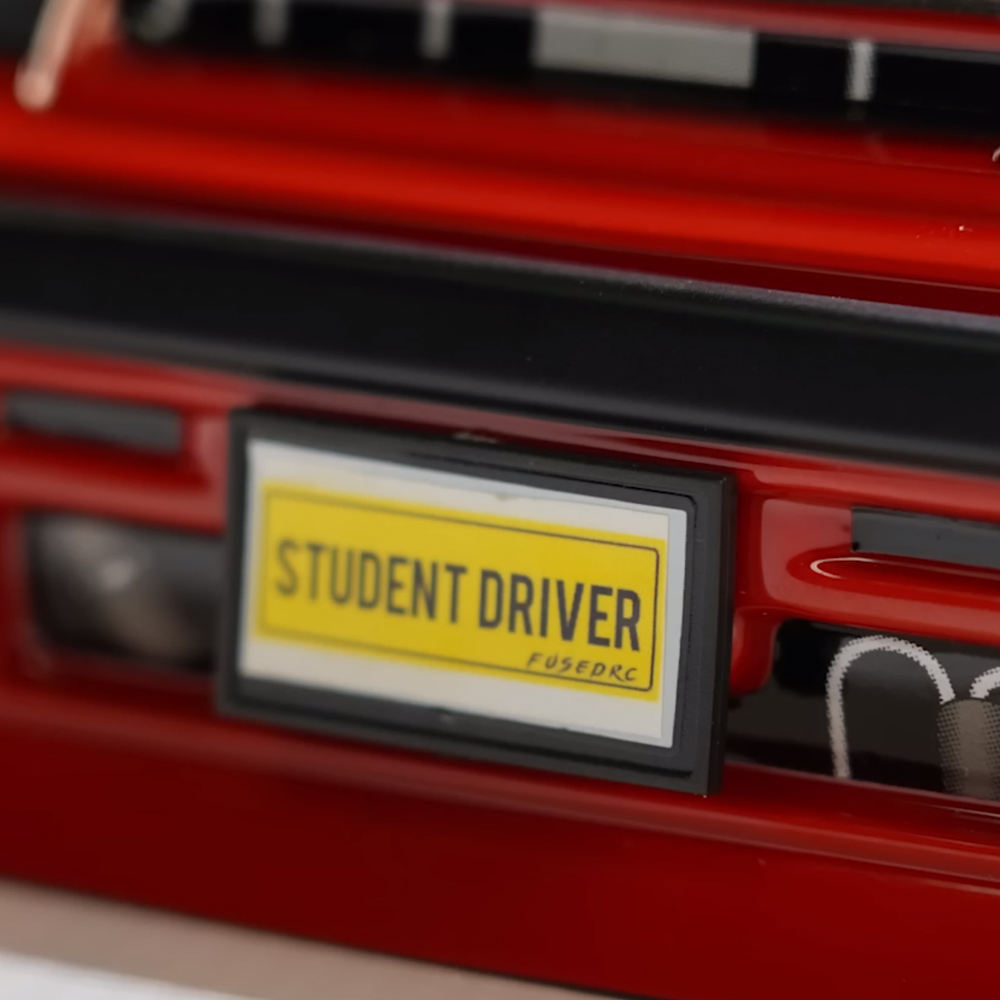
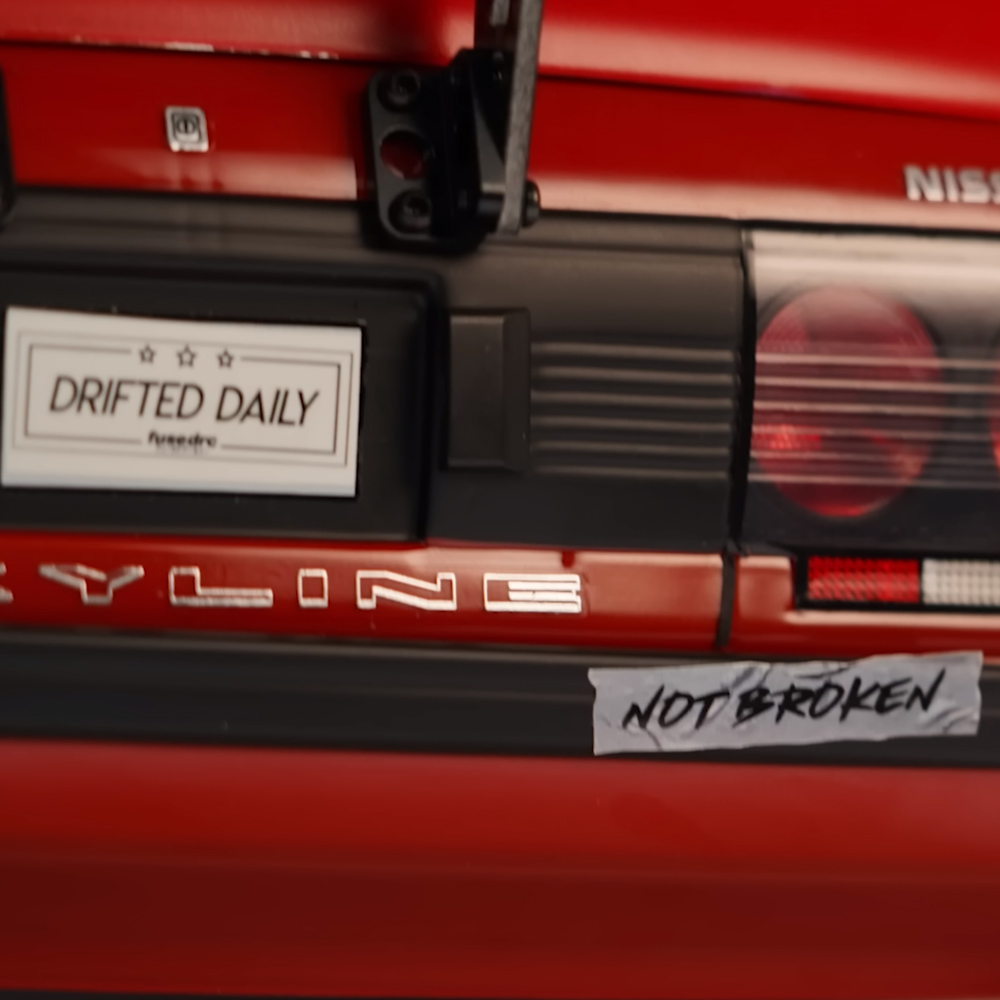
We used a Fused RC decal set for even more scale realness. Notice the license plates and duct tape sticker on the bumper. We also had some random decals lying around that we added to the body. There is even a little buggy on both sides representing Brett’s love for the dirt.
Lastly, we put the LED light set on channel three for the transmitter so we could turn them on and off whenever we wanted. We used two white LEDs with amber on each end for the front headlights. We also used amber on the sides of the body with double red for the taillights.
Summary
Of all the upgrades on our MST RMX 2.0, the magnetic body mount set was probably the most challenging, with several micro adjustments to get it right. The wire management for the light set was perhaps the most time-consuming upgrade. However, both of them are highly recommended.
It was one heck of a journey, but we are proud to say this is our finished Nissan Skyline R31, partially inspired by Mad Max and a little from the DeLorean time machine. Overall, this is one unique body, and it may not be for everyone, but that’s why this hobby exists so we can all build the car of our dreams.
Watch Brett's Review
RMX 2.0 Drift Series
Part 4
Building a Drift Body
For even more bashing fun, watch the Learning To Drift Series on our YouTube channel, and while you're there, be sure to check out our new product reviews, and how to videos.
Featured Items

Killerbody Nissan Skyline R31 Pre-Painted 1/10 Touring Car Body KLR-48677
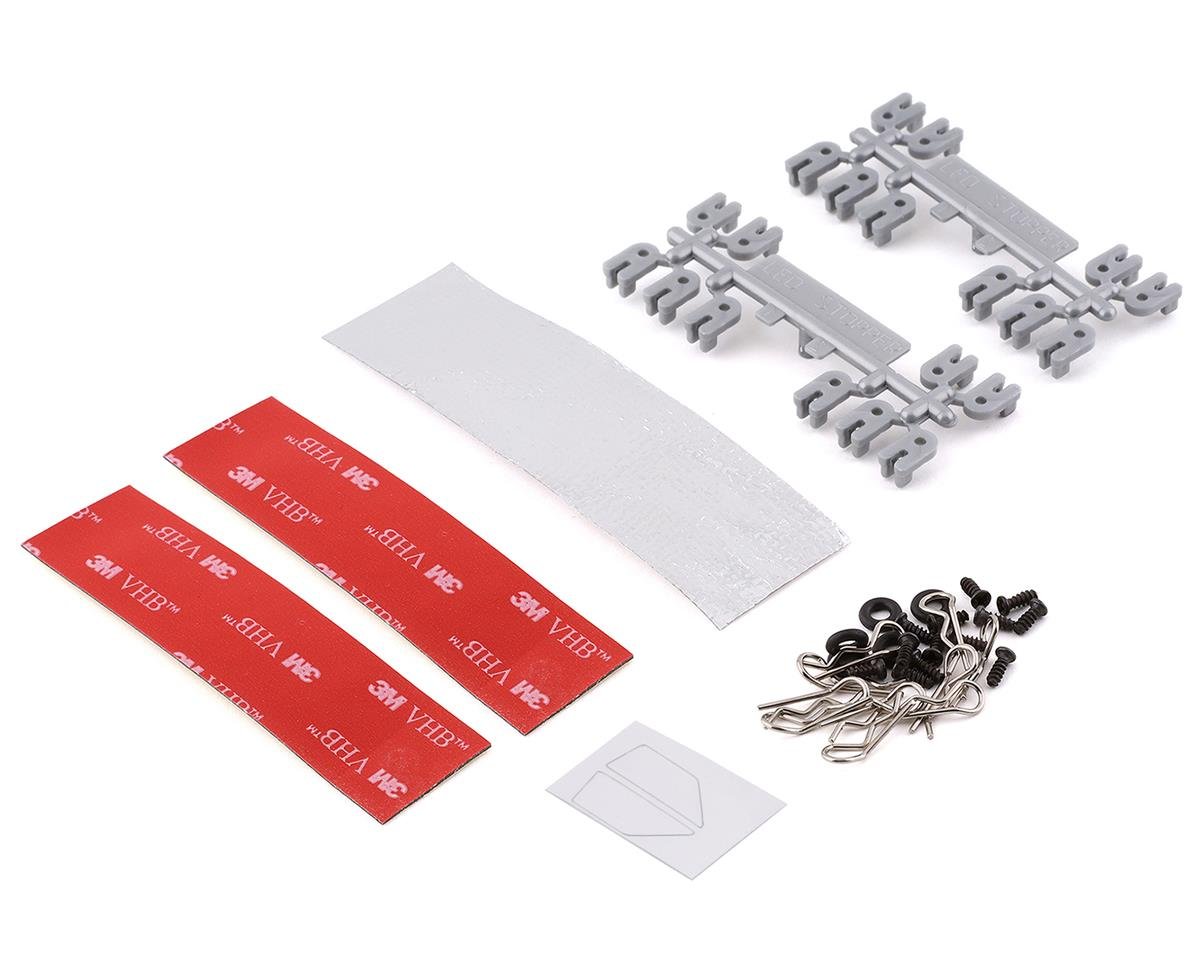
Killerbody LED Accessories Bag KLR-48063

Killerbody Nissan Skyline R31 LED Light Kit and Control Box KLR-48686
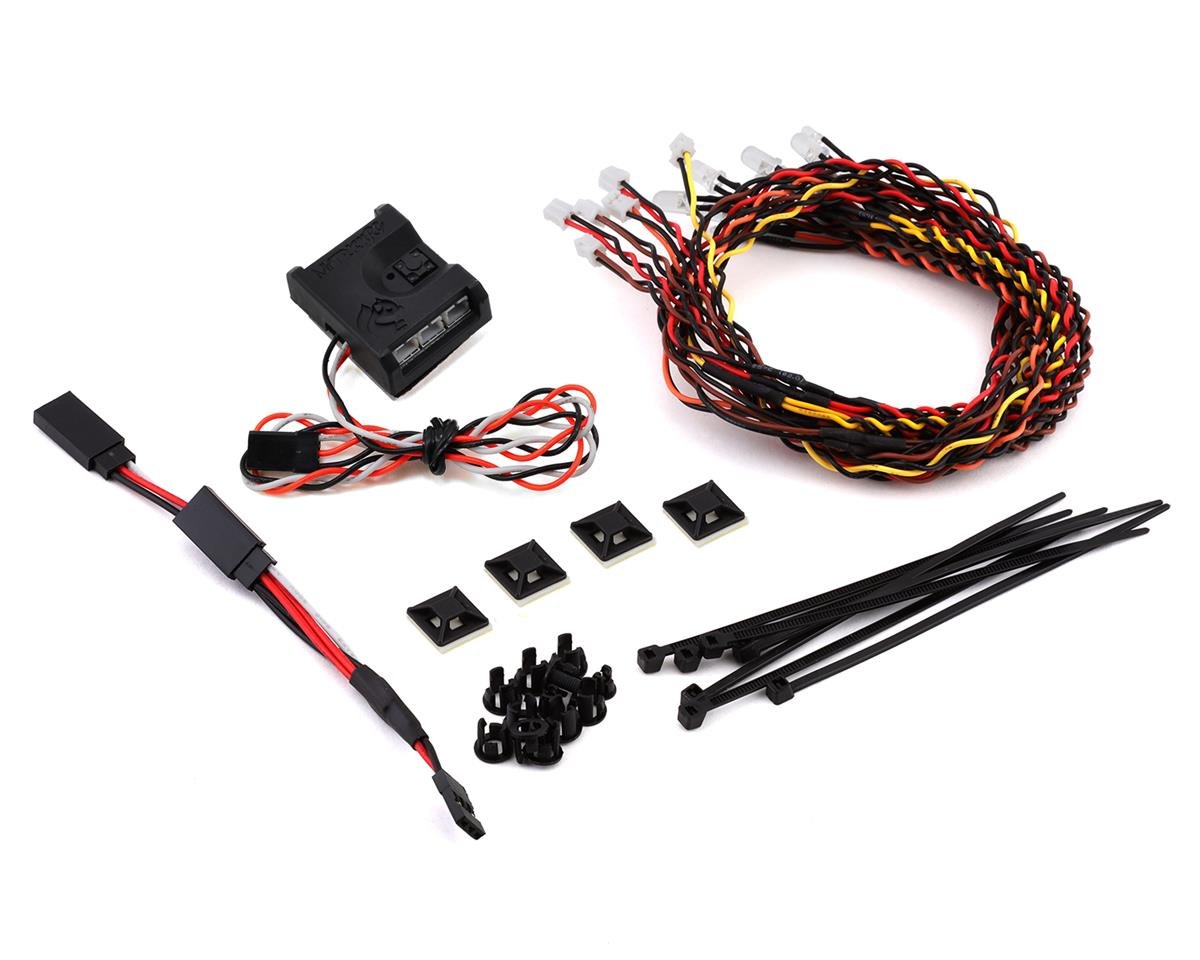
MyTrickRC Attack Vintage 1402 Light Kit w/SQ-1 Controller MYK-AV1402
Schumacher Sticky Cable Clip "Speed Pack" SCHU2856
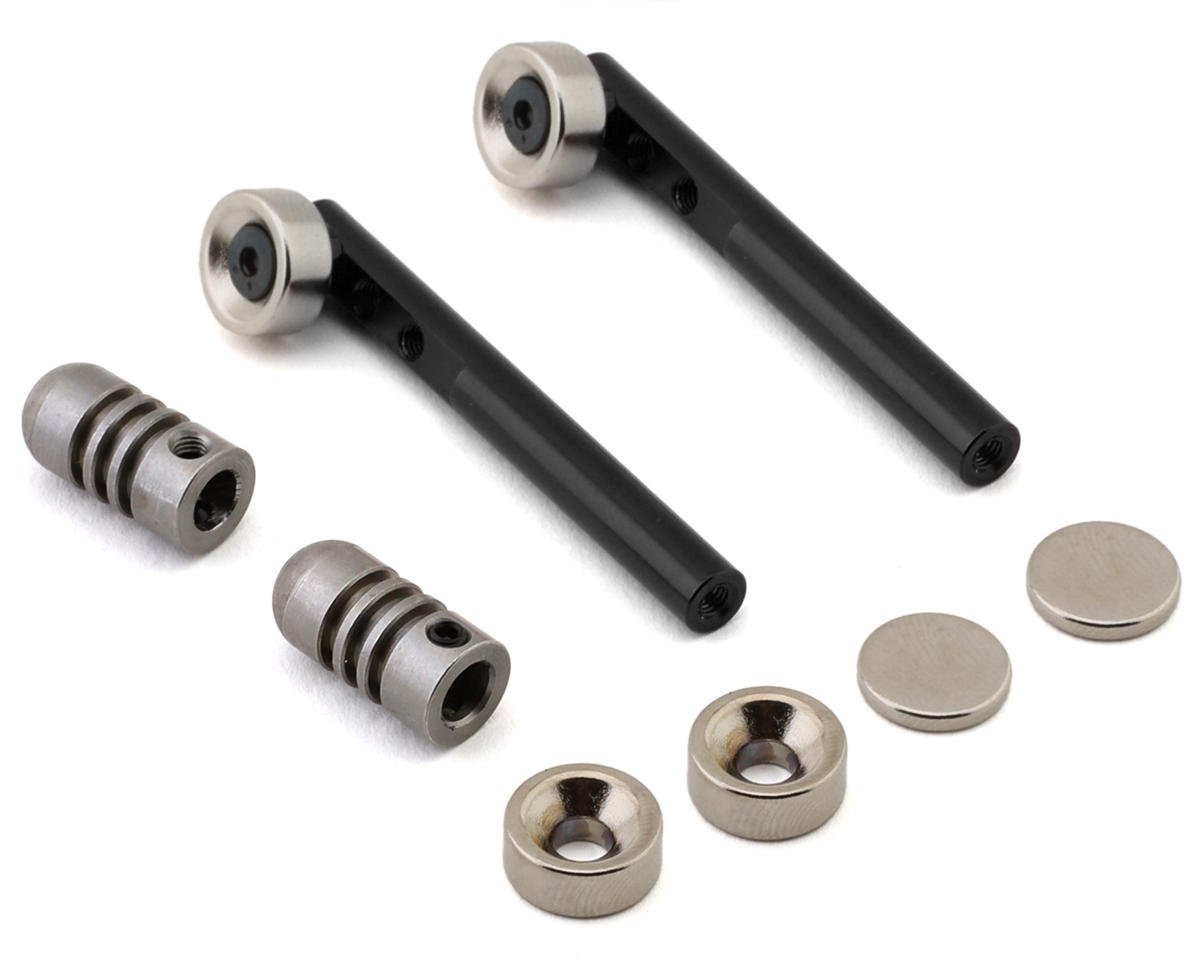
Scale Reflex Gorilla Mounts Magnetic Body Mount Kit SRF888100

FUSEDRC 1/10 Drift Roll Cage & Bash Bar Kit - Ver.01 FUR-RDK-001
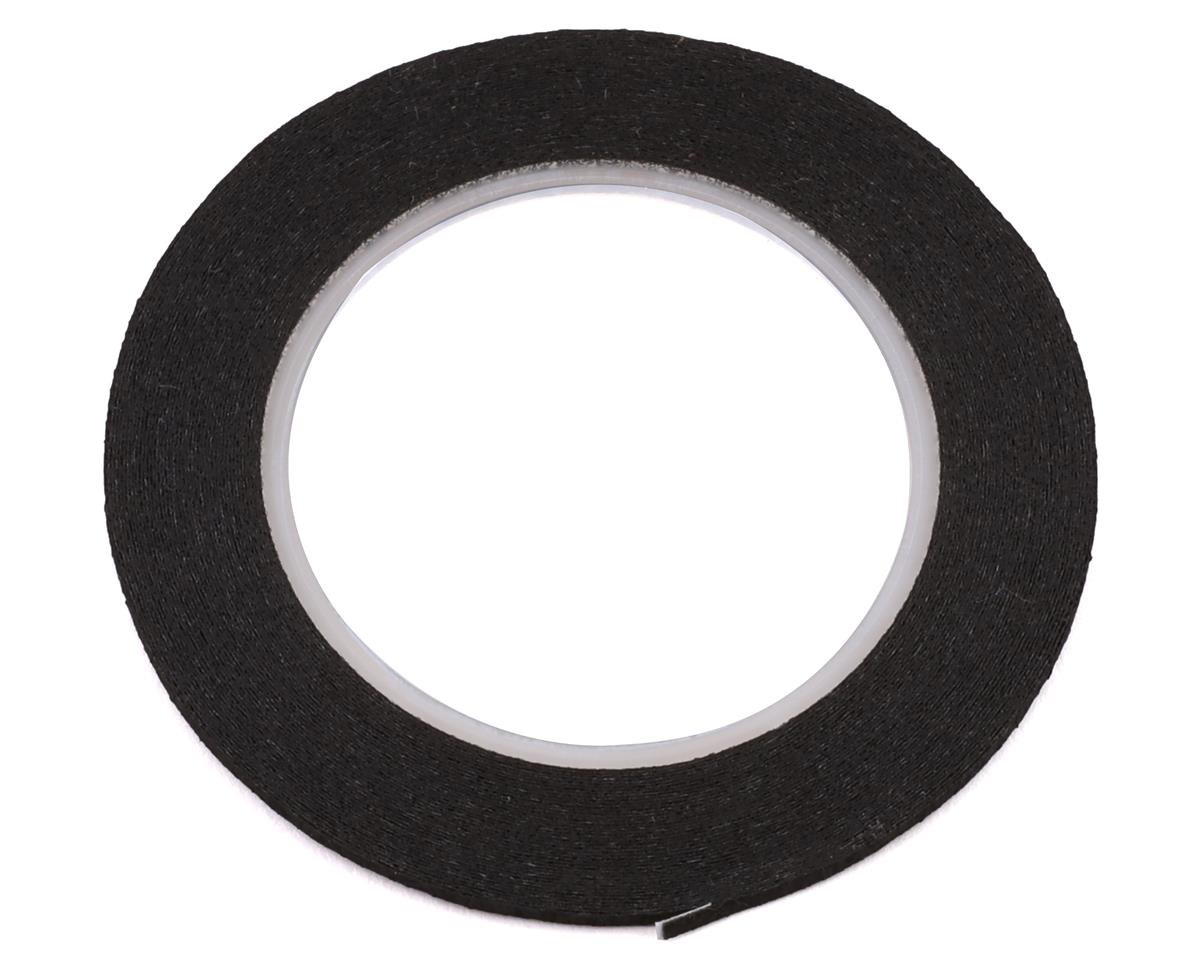
Kyosho 1mm Micron Trim Detail Tape KYO1841BK
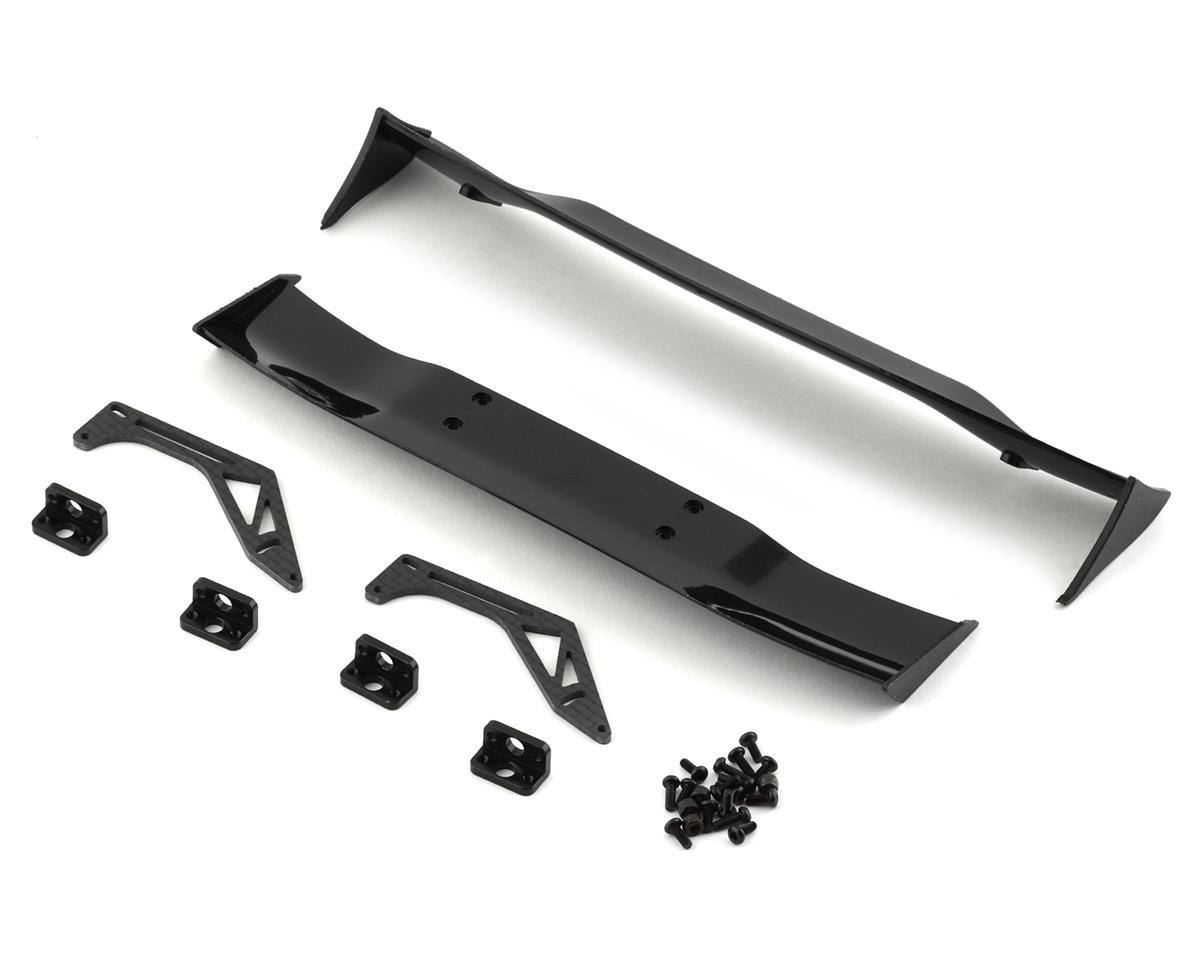
Yeah Racing 1/10 Molded Drift Wings w/Carbon Fiber Mounts (Type A) YEA-YA-0508
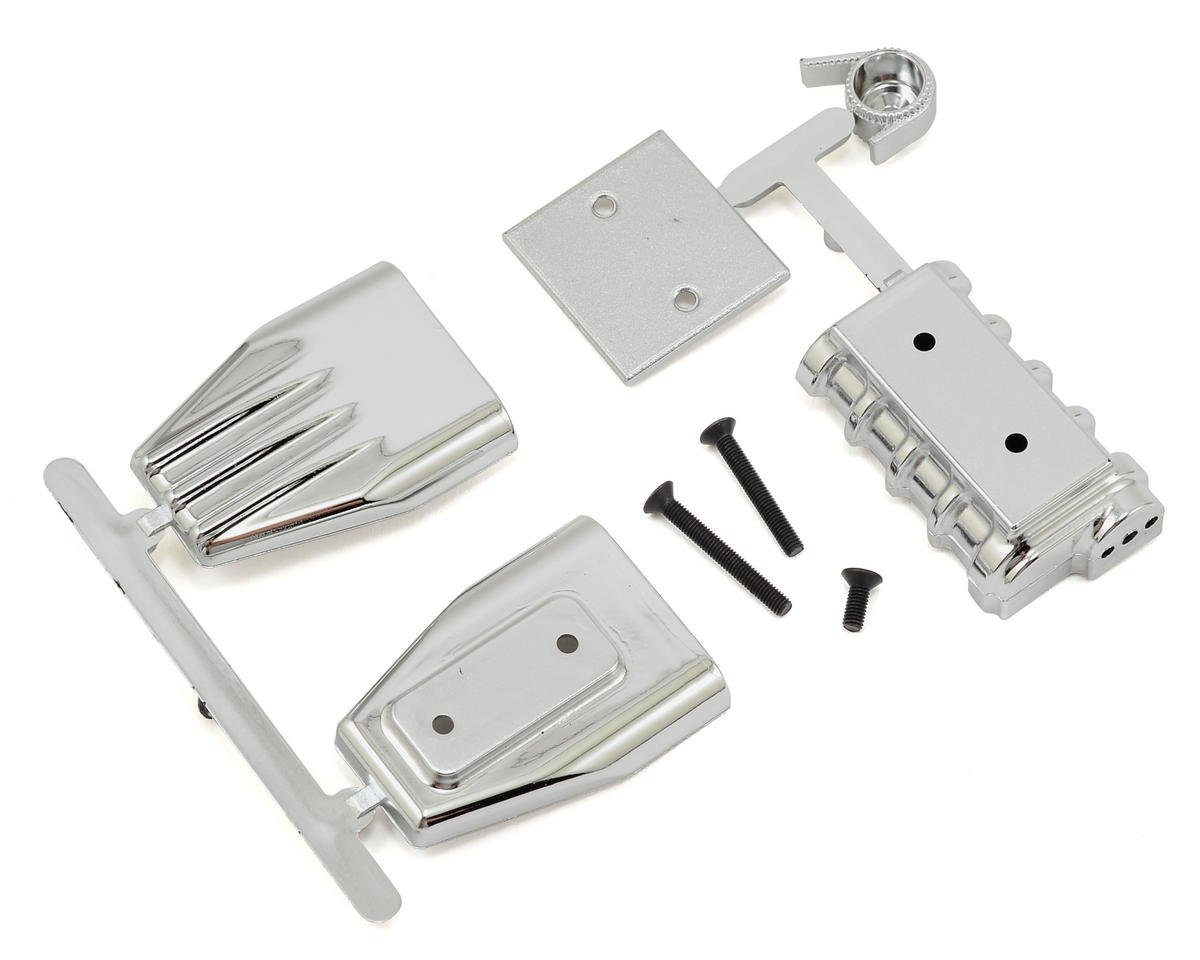
RPM Mock Intake & Blower Set RPM73413
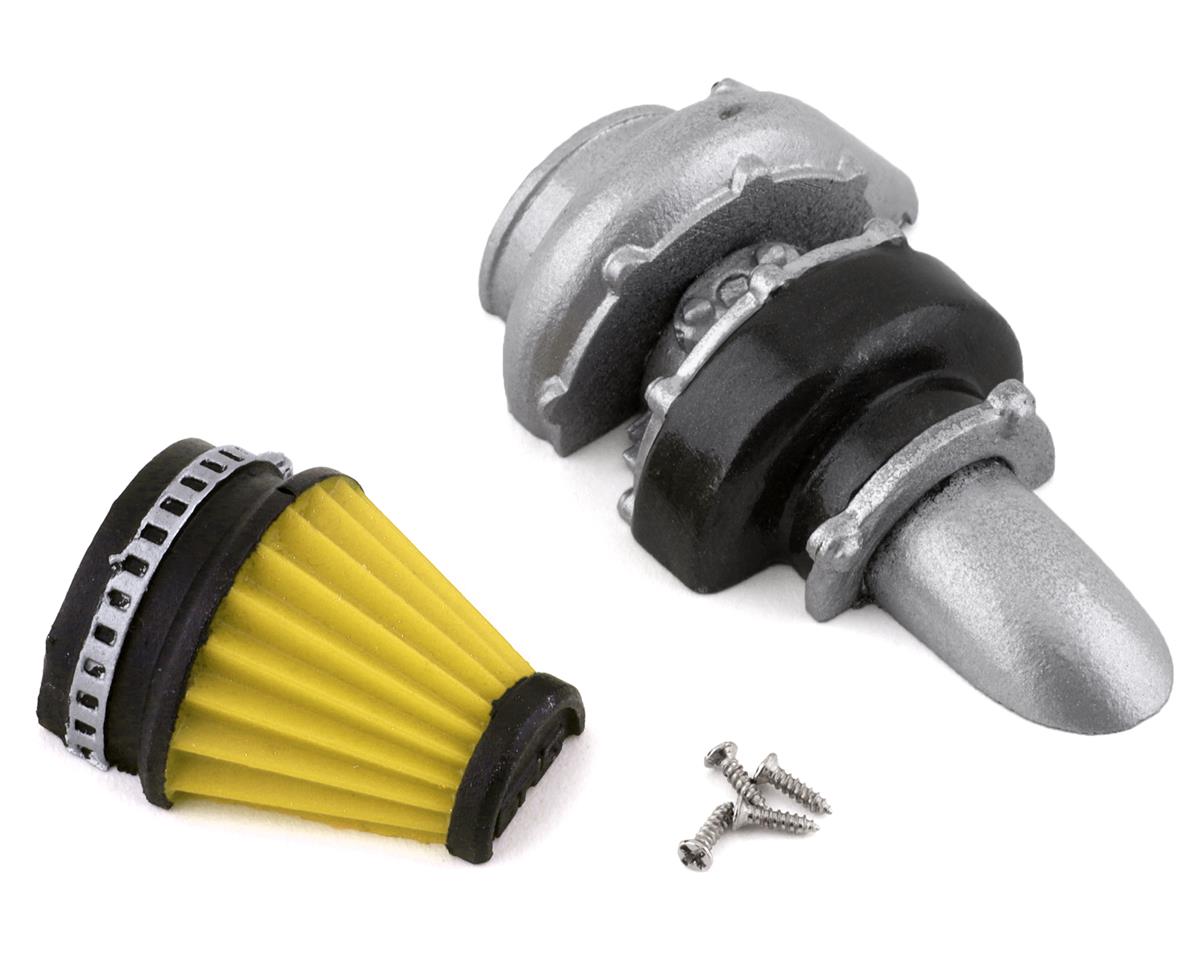
Sideways RC Half Turbo 2 w/Cone Filter SDW-HTURCONEV2-YL
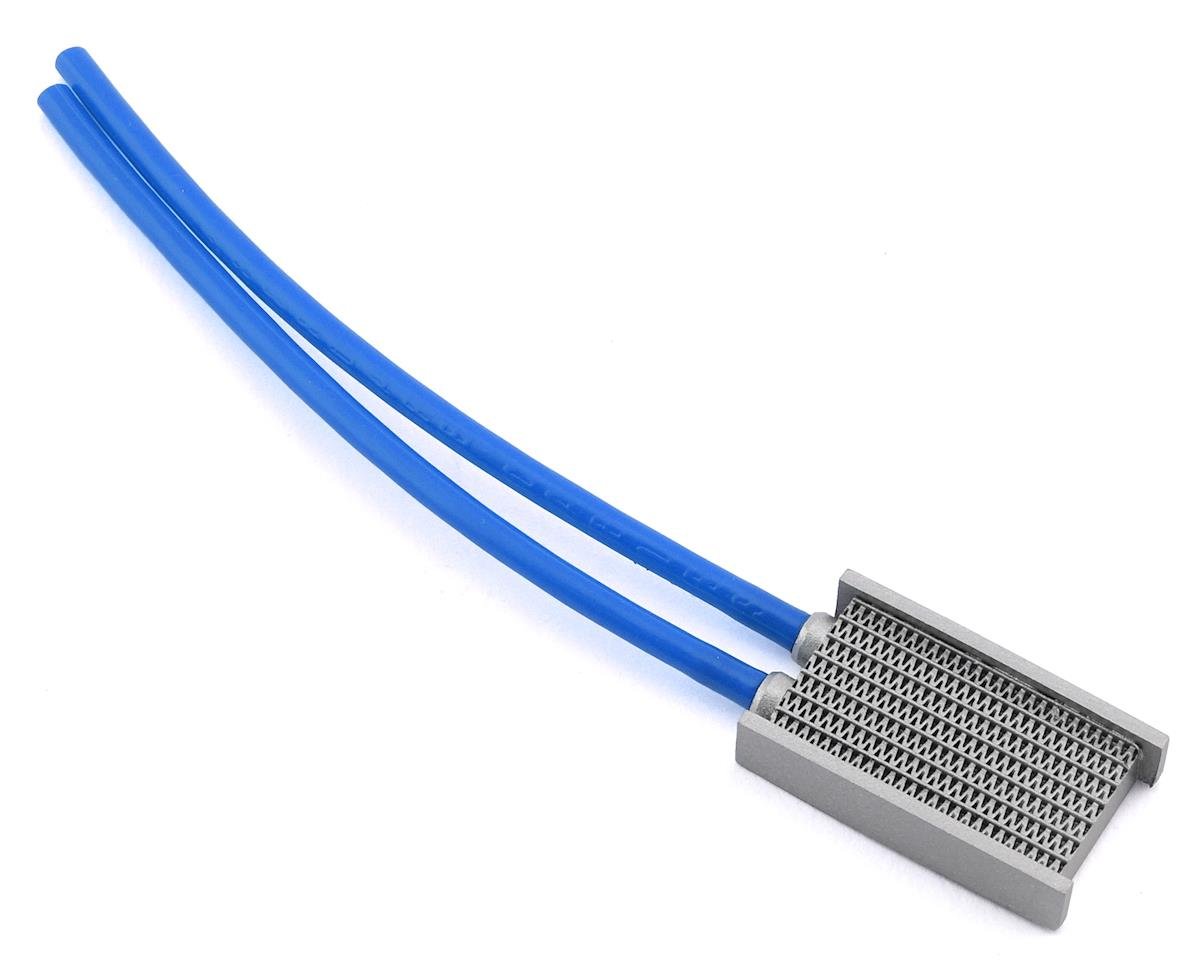
Sideways RC Scale Drift Side Pipe Intercooler V3 SDW-SMLCOL3-BL
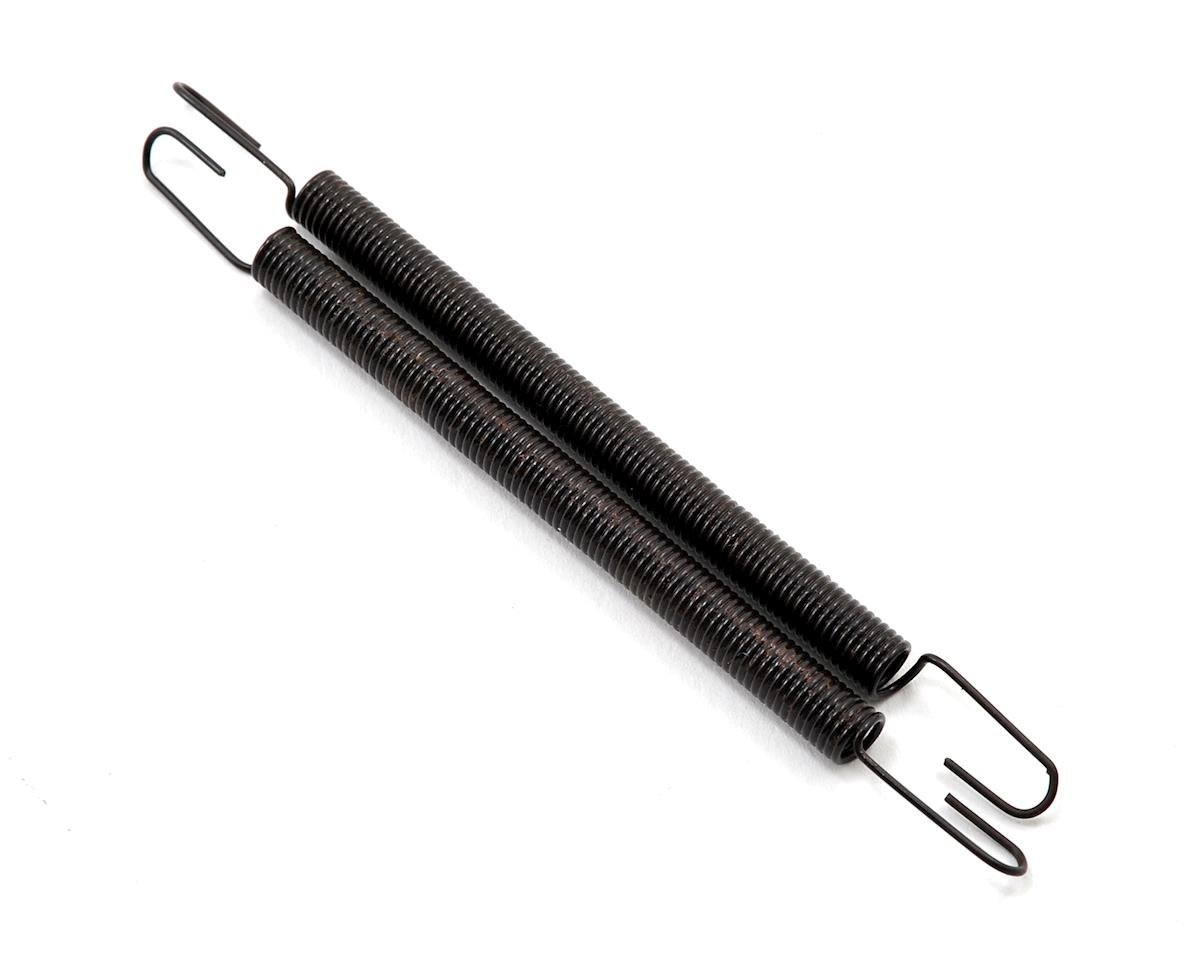
ProTek RC 3.5" 1/8 Exhaust Manifold Spring PTK-7100
DS Racing Drift Element 5 Spoke Drift Wheels DSC-DE-018

DS Racing Competition III Slick Drift Tires DSC-CS3-LF4
DS Racing Drift Element Scale Lug Nuts DSC-DEN-2PUA
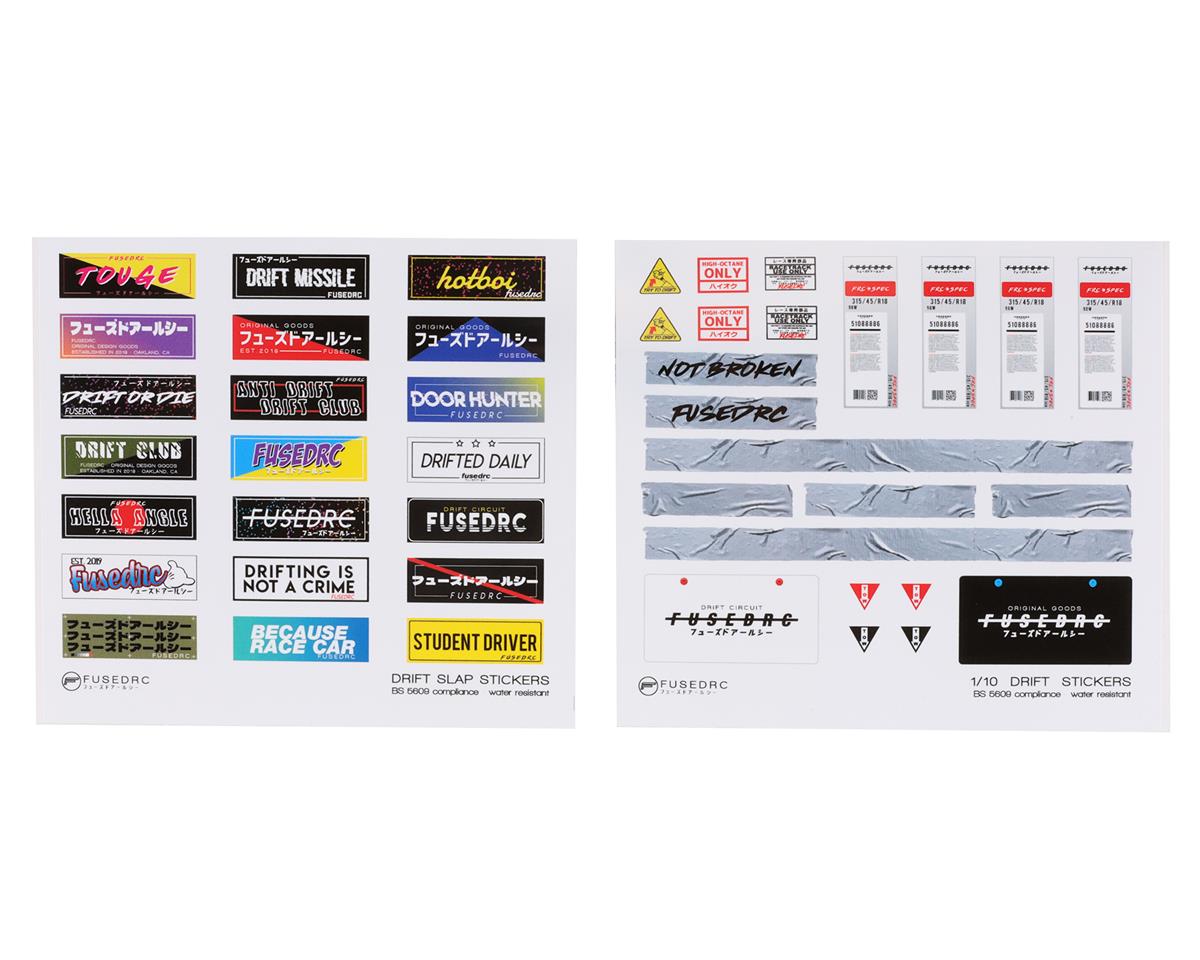
FUSEDRC 1/10 Drift Slap Sticker Decal Sheet FUR-EDK-008
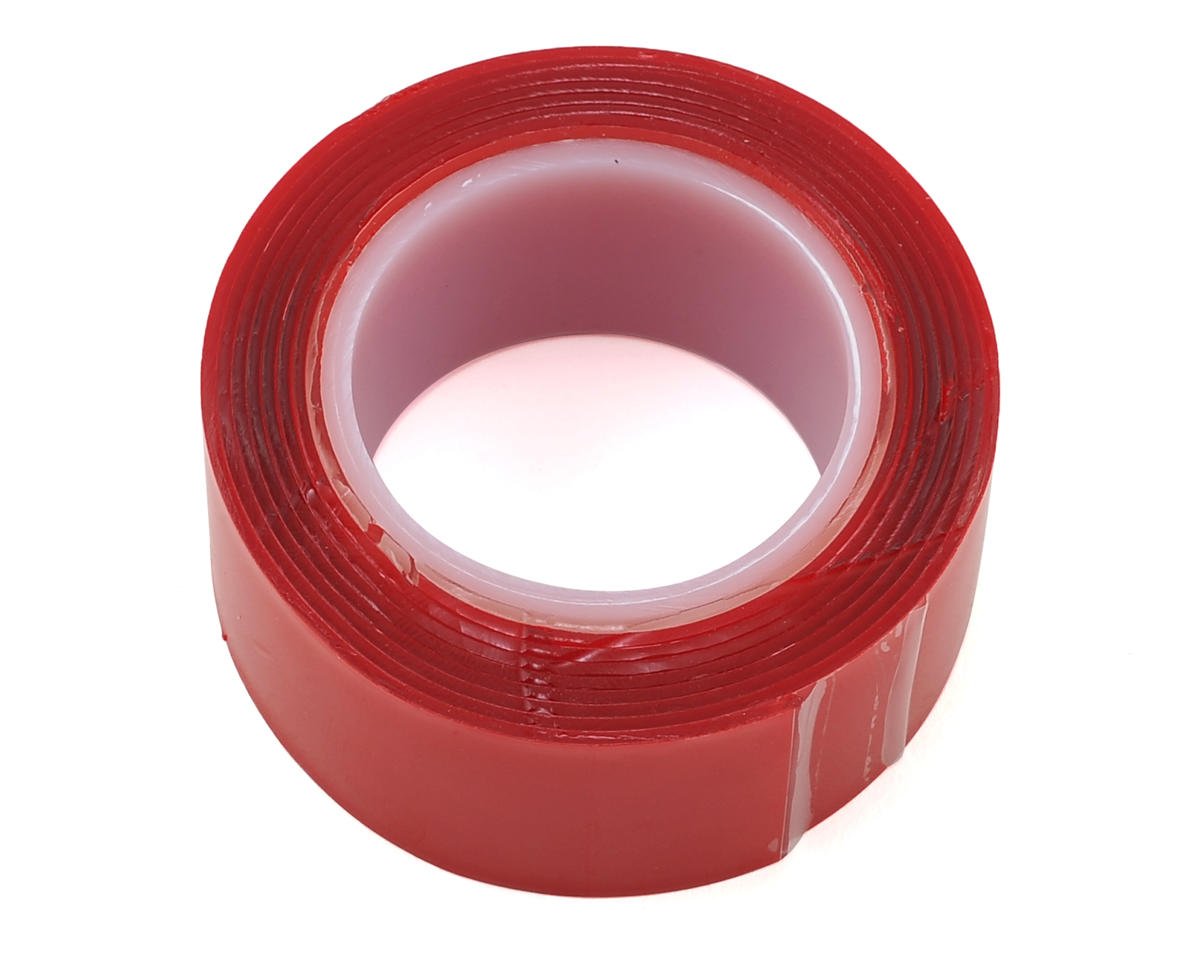
ProTek RC Clear Double Sided Servo Tape Roll PTK-2240
ProTek RC Grey High Tack Double Sided Tape Roll PTK-2241
ProTek RC "TruTorque" Lexan Scissors PTK-8279
ProTek RC CA Tire Glue w/Glue Tip (Medium) PTK-1570
EcoPower Rotating 1/10 & 1/8 Aluminum Car Stand w/Shock Holder ECP-3001