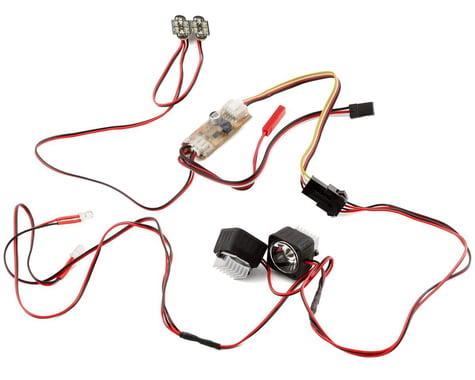
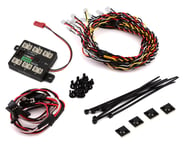
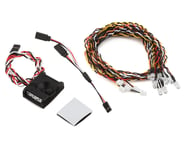
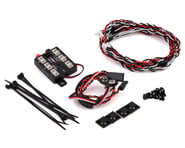
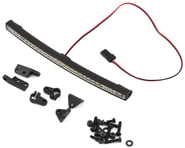
The Incision Series 2 Light Kit is a complete light system with headlights, tail lights and rock lights, developed specifically for the VS4-10 Phoenix and its included molded front inner fenders.
Features:
- Molded front light buckets with high powered LED and heatsink
- Red LED tail lights
- White LED inner fender rock lights
- LED light controller
- Manual on / off function
- Additional on / off control from aux receiver channel.
- Headlights powered by 2-3S lipo balance plug on light controller
- Aux control and red LED headlights powered by RX plug
Includes:
- (2) Molded front led headlight housings with heat sink. direct fit / bolt pattern with Phoenix body grill
- (2) 5mm red LED tail lights
- (2) PCB LED rock lights for use with VPS10180 Narrow Molded Inner Fenders (VS4-10 Phoenix Chassis)
- (1) LED controller with required power plugs
- Nifty parts box
Installation:
- Instructions for VS4-10 Phoenix:
- Remove stock light buckets from VS4-10 grill. Mount included light assembly to the body with the existing 1-64 hardware. Red LED tail lights mount into stock VS4-10 rear LED housings.
- Remove stock rock light cap, place PCB LED's in place, replace cap.
- Connect LED plugs to the Light Controller. Connect Light Controller to 2s or 3s Lipo battery for headlight power source. Connect Light Controller to receiver to power red LED’s, for full functionality use an open auxiliary channel in receiver. Program auxiliary channel on transmitter for 2 positions (On/Off) with endpoints set to max for each position.
- The 3-position switch located on the LED light controller selects mode (Off / Aux CH on/off control / ON). To control LED function through the transmitter ensure the 3 position switch on LED light controller is in the middle position.
- Tips:
- Attach LED controller and rock lights to chassis.
- Connect and route headlight and tail light LED light wires to underside of body.
- Use Black 4 pin connection plug for easy removal of body.
- Use Balance plug and JST connection for power source and RX connection at chassis for easily removal.
NOTE: JST power source powers head lights and rock lights. RX Aux powers taillights. Both power sources must be connected for full functionality.
This product was added to our catalog on April 21, 2022

