Hot Racing RR10 Bomber Front & Rear Torsion Sway Bar Set

Read Reviews
Write a Review
Back Order Now
You may back order this item and it will ship when it arrives.
$2.99 flat rate shipping! Learn More
Price: $53.88

Please Log in to receive a notification when this item arrives in stock.

Save In List
This item earns up to 54 VIP Reward Points Learn More

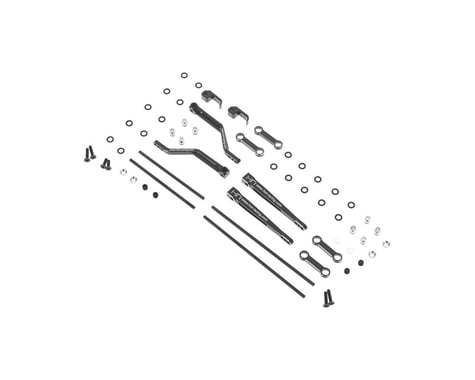
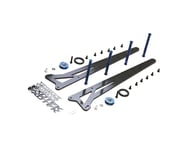
This is an optional Hot Racing RR10 Bomber Torsion Sway Bar Set.

Features:

  • Designed for quick response, this system use a spring steel torsion bar to keeps torque twist and body lean to a minimum during acceleration and cornering
  • Aluminum sway bar arms have three mounting positions to fine tune the anti-sway bar
  • Anti-sway bar arms and links are anodized blue durability, corrosion resistance, and aesthetics
  • Easy bolt-on application

Includes:

  • Two (2) spring steel torsion sway bar (med) & (hard)
  • Four (4) aluminum anti-sway bar arms
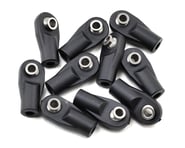
  • Four (4) aluminum anti-sway bar links
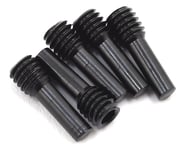
  • Mounting hardware, including screws, bushings, washers, spacers, and o-rings
  • 2mm hex wrench

NOTES:

  • Med (with flat cut in the center)
  • Hard (is round)


This product was added to our catalog on March 6, 2018

Logan Frazier
Verified Owner
Tuesday, May 2 2023 (about a year ago)
Hot Racing RR10 Bomber Front & Rear Torsion Sway Bar Set
These sway bars are sweet! I needed the front one for sure because I had a rear already but now I got back up!
Edwin Hill
Verified Owner
Tuesday, Sep 27 2022 (about 2 years ago)
Hot Racing RR10 Bomber Front & Rear Torsion Sway Bar Set
Fit an$ finish like you would expect from Hot Racing! Settled down my Bomber with just the rear bar. Front bar was a bonus and helped to keep a straight line regardless of the course surface. Options allow more fine tuning, for a welcome difference when mounting on a upgraded buggy!
Matthew Silver
Verified Owner
Thursday, Jun 16 2022 (about 2 years ago)
Hot Racing RR10 Bomber Front & Rear Torsion Sway Bar Set
Tricky to install w/o directions! Look for Exocaged RC's youtube video about installing these if you need visual help.

How I did the rear: I put the small dogbones on first, then I pushed the rod through the two holes that are mirrored in the tube chassis just below the front of the plastic scale fuel cell. Then, I added some loctite to the headless screws that fit in the top of the long arm and screwed them in slightly before pushing the long arm onto the rod. Then, screw in the headless screw so that it sits against the flat part of the rod end. on both sides. Then the dogbone that connects to the top of the axle, you connect to the upper arm via the flat head screw with the little aluminum washer, on the outside of the dogbone, screwing into one of the three holes on the end of the upper arm.

The front: per that exocaged RC video, I had to assemble the top part first. Basically the put both of the hook pieces on the rod first, then put the angled arms on the rod, so that the hot racing logo is up, and use the provided screws to attach that assembly over the bar that has two small screw positions just under the front of battery tray area. I had to take the hood panel off to get a better angle/visibility to what I was doing. It was tricky. Then, you just put the little dogbones on the two positions available on the front axle, and the angled arm goes on the inside of the shocks, screwed into the dogbone just like the rear trailing arm.

Can confirm that the torque twist is eliminated. I know some people have said that the front anti-sway bar may limit crawling but I feel like it's better because even crawling there was some torque twist that threw off my line.